Pony bead tapestries turn colorful plastic beads into small pieces of pixel-style wall art. A crescent moon against a dark blue sky, a row of cheerful flowers, or a simple ghost can become a handmade hanging for a bedroom, craft corner, or dorm room.
The trick is finding a design that works with the beads and construction method you plan to use. A finished-project photo can help you choose a style, but a usable pattern needs more: a clear bead grid, a consistent color key, and instructions that explain how to follow the design.
Below, you’ll find eight pony bead tapestry design ideas, guidance for turning those ideas into workable patterns, and practical tips for planning your first project.
1. Crescent Moon and Stars Pony Bead Tapestry
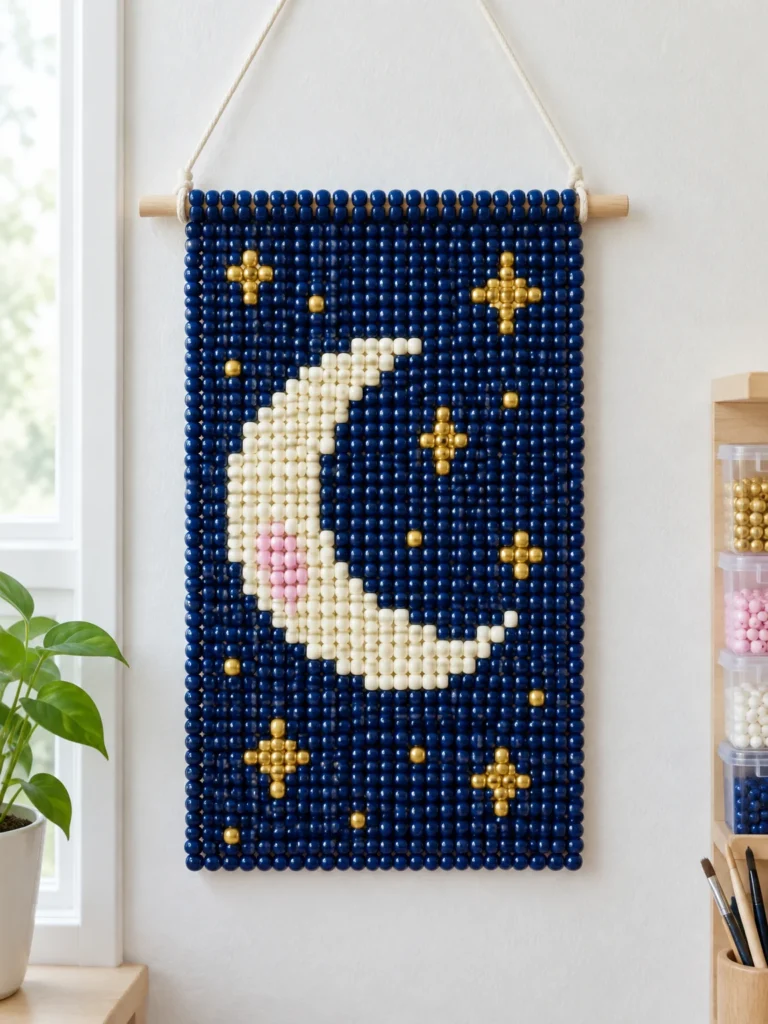
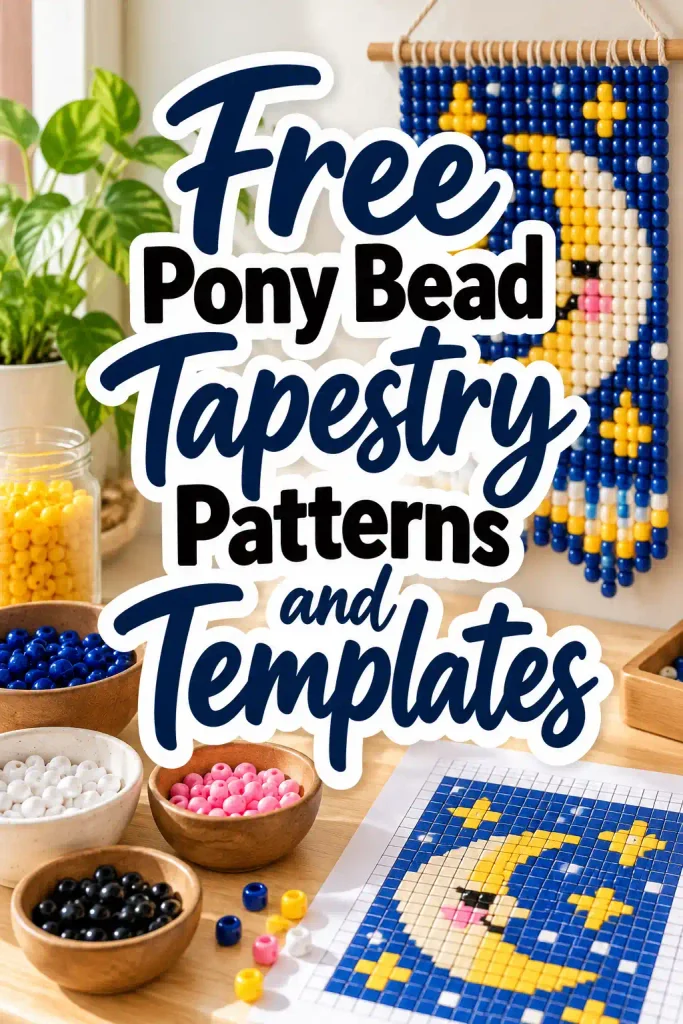
A sleepy crescent moon surrounded by stars makes a striking wall hanging, especially when the background is deep navy blue.
Choose navy or dark blue beads for the sky, yellow or gold for the stars, and ivory for the moon. A small patch of pink can add color to the moon’s face if you want a more playful design.
How to plan the pattern: Start with a rectangular grid and place the crescent near the center. Build its outline using stepped rows of colored cells, then fill the surrounding sky. Add a few stars of different sizes, leaving enough dark background between them to keep each shape distinct.
This design works particularly well with a limited color palette. Too many shades can make the moon and stars harder to distinguish from a distance.
2. Daisy Garden Bead Tapestry
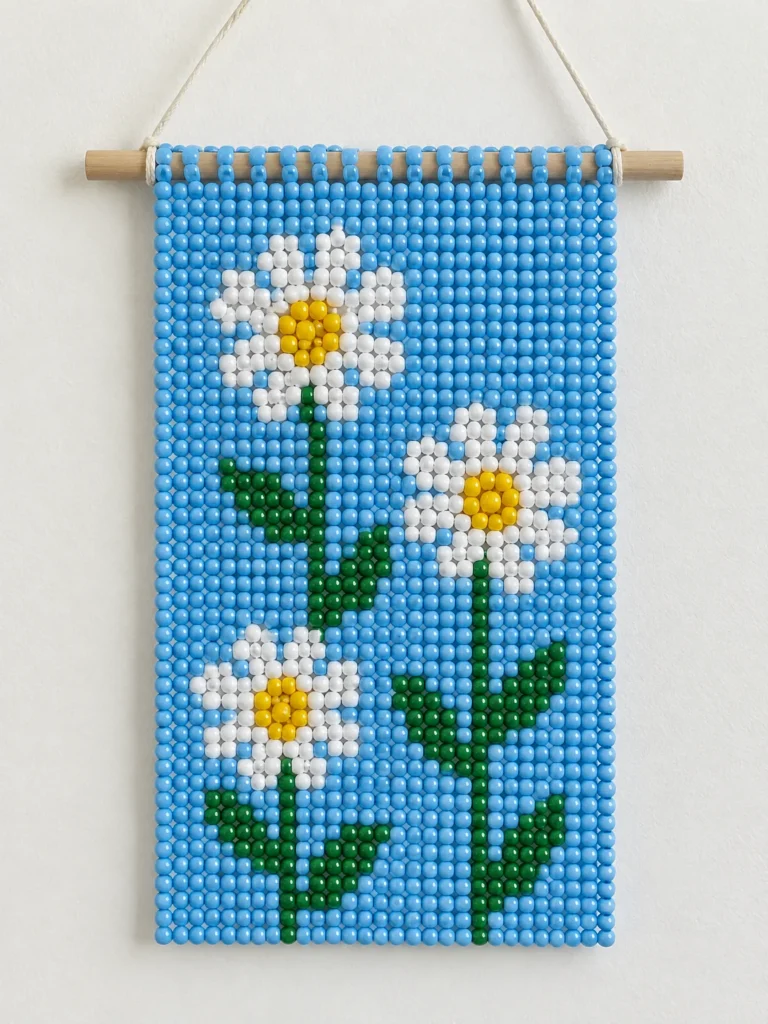
White daisies against a blue, lavender, or green background create a cheerful botanical design without requiring complicated shading.
Use white beads for the petals, yellow for the flower centers, green for the stems, and one background color. Two shades of green can add definition to the leaves if your grid is large enough.
How to plan the pattern: Draw the flower centers first, then arrange the petals around them. Keep the flower shapes relatively simple, and check that the stems connect visually to the flowers. For a repeating design, space the daisies evenly across the grid.
A small hanging could feature one large flower. A wider panel could contain three flowers at different heights.
3. Mushroom Forest Pony Bead Tapestry
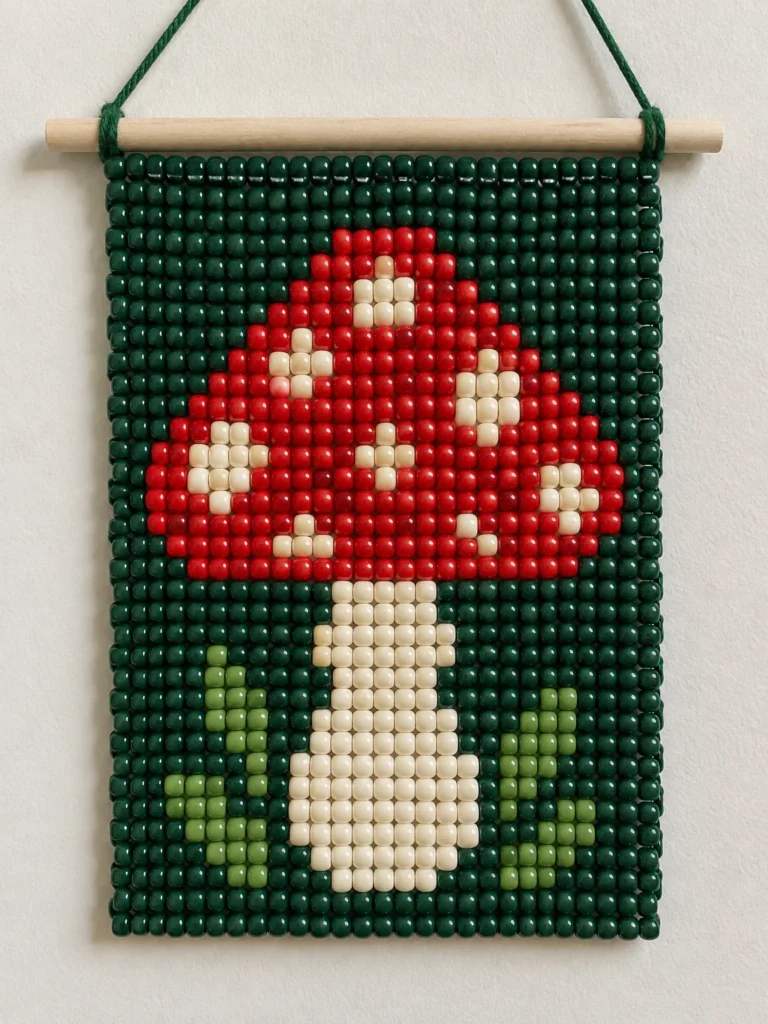
Mushrooms are a natural fit for pixel-style beadwork because their caps and stems can be built from simple blocks of color.
Try a red mushroom with ivory spots on a forest-green background, or use rust, cream, and brown for a woodland-inspired palette. Small green shapes at the bottom can suggest grass, moss, or leaves.
How to plan the pattern: Sketch the stem first, then widen the cap gradually as you move toward its lower edge. Add the spots after establishing the cap’s silhouette. Leave a visible border around the mushroom so its shape doesn’t disappear into the background.
For a larger design, add a second, smaller mushroom or a few simple leaves. Keep the main mushroom as the focal point.
4. Ghost Pony Bead Tapestry for Halloween
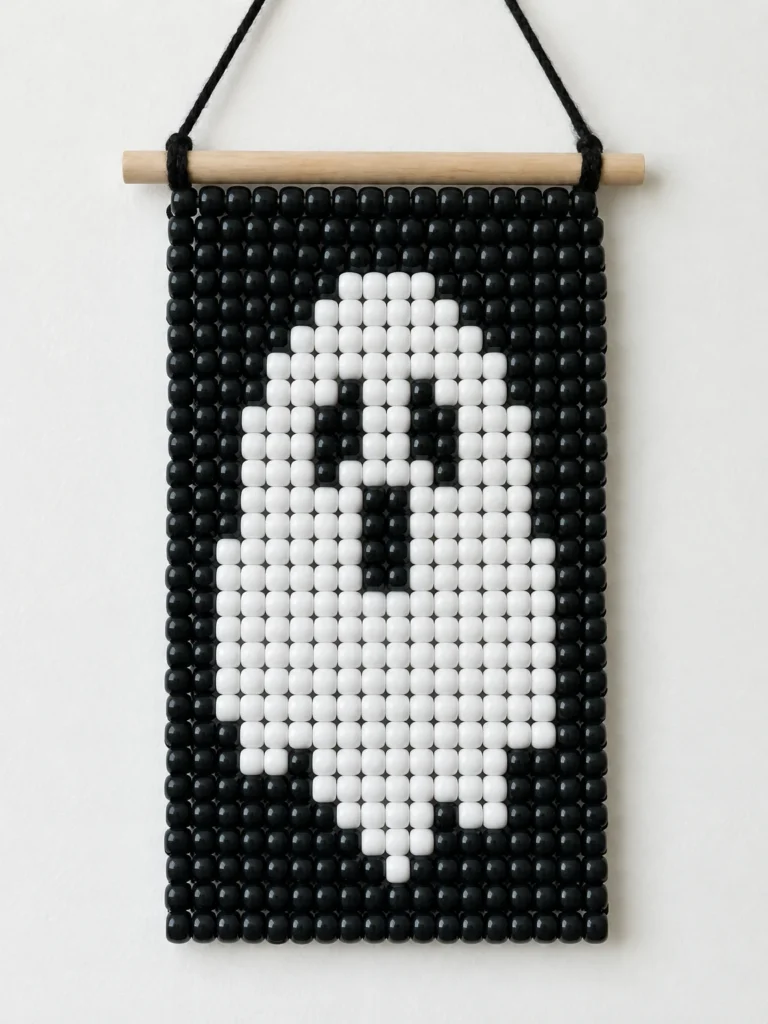
A white ghost against a black or charcoal background is one of the more straightforward designs to plan. The silhouette remains recognizable even when individual beads create a blocky outline.
Use white or ivory for the ghost, black for its eyes and mouth, and a dark background color. Orange can be added as a border or a small accent, but it isn’t necessary.
How to plan the pattern: Begin with a narrow top, widen the body through several rows, and shape the bottom with short stepped sections to suggest a floating ghost. Add the face only after the body outline is established.
Keep the facial features separated and use enough background around them to preserve their shape. This design is especially suitable for a small seasonal hanging.
5. Rainbow Checkerboard Pony Bead Tapestry
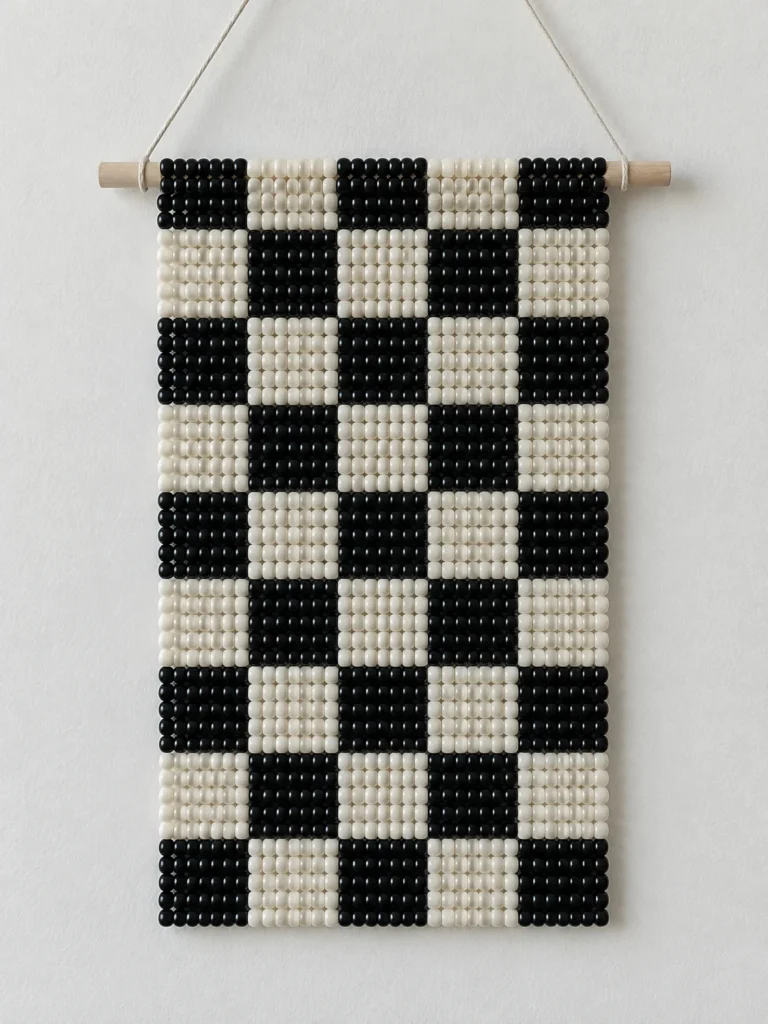
A checkerboard pattern is a useful starting point if you prefer geometry over pictures. Its repeating structure also makes it easier to check your work as you go.
Choose two contrasting colors, such as black and ivory, or use alternating blocks of bright colors for a more playful effect.
How to plan the pattern: Decide how large each block should be before filling the grid. Mark the alternating colors carefully, then count each row or column to make sure the pattern stays consistent.
For a variation, use a checkerboard border around a solid-colored center. This adds a little visual interest without requiring a complicated motif.
6. Butterfly Pony Bead Tapestry
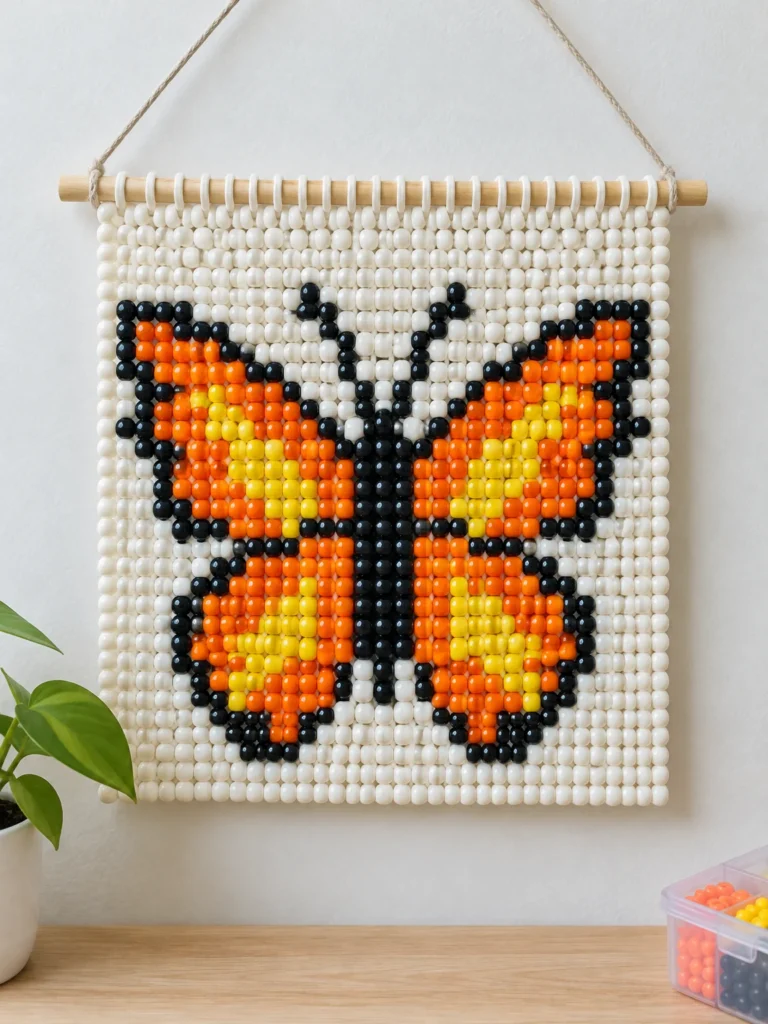
A butterfly offers more shape and color variation than a checkerboard, but its basic structure can still be planned with a simple grid.
Use two or three colors for the wings, a darker shade for the body, and a contrasting background. Symmetrical wings make the design easier to plan and help the finished piece look balanced.
How to plan the pattern: Draw a vertical centerline on your grid. Sketch one side of the butterfly first, then mirror the shape on the other side. Add larger color sections before introducing small accents.
Avoid making the wing details too tiny. If the pattern is small, broad sections of color will generally be easier to follow than many one-bead changes.
7. Ocean Wave Pony Bead Tapestry
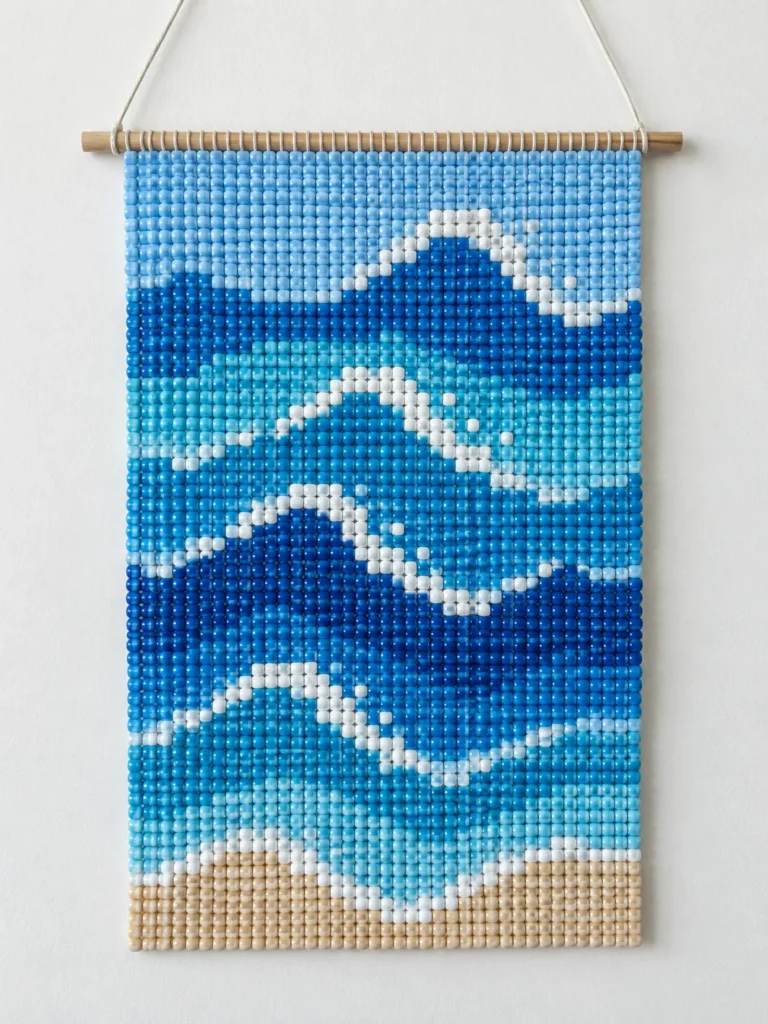
Blue waves create a clean coastal design that suits a bathroom, beach-themed room, or summer craft display.
Choose a few shades of blue, plus white for foam and a pale sand color for a small sun or horizon accent. A restrained palette helps the waves remain recognizable.
How to plan the pattern: Build the water from horizontal bands, then use stepped color changes to create wave crests. Offset the crests rather than repeating identical shapes across every row. Use white sparingly to suggest foam.
This design is adaptable to different proportions. A narrow panel can emphasize vertical waves, while a wider one can show several wave patterns side by side.
8. Floral Vine Pony Bead Tapestry
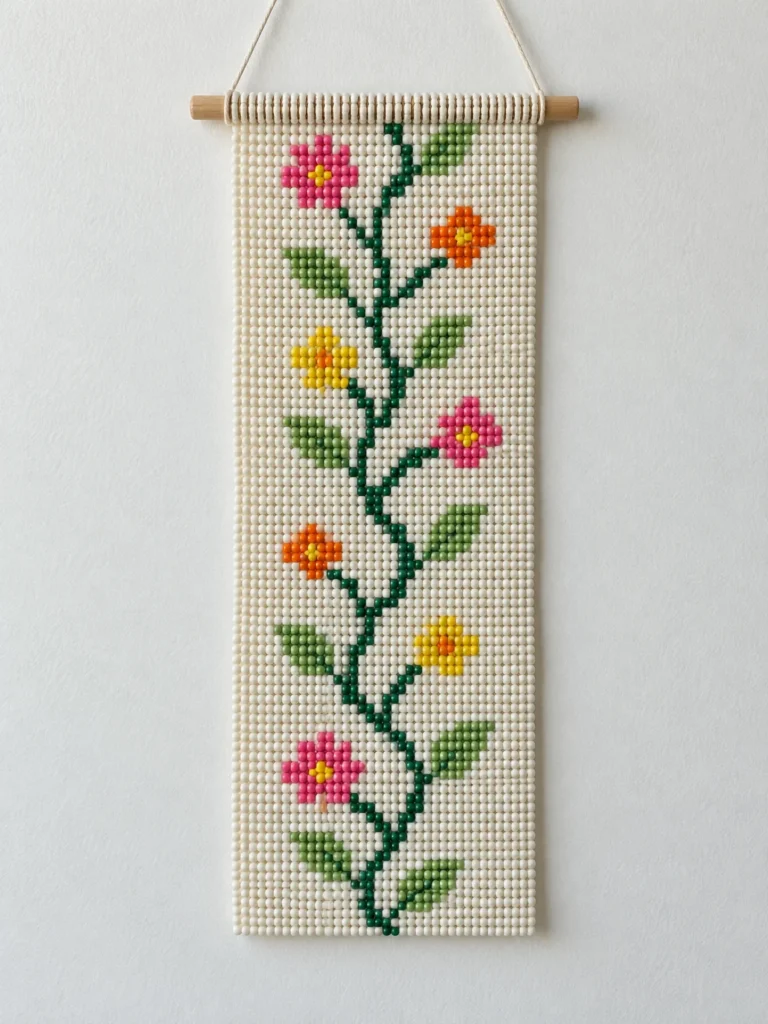
A floral vine creates a more decorative wall hanging than a single centered motif. Curving stems, leaves, and small flowers can form a vertical border or a repeating pattern.
Use dark green for the stems, lighter green for leaves, and two or three flower colors. A white or cream background makes the botanical details easier to distinguish.
How to plan the pattern: Draw the main stem as a stepped diagonal line, then attach leaves at intervals. Place flower clusters where the stem changes direction or branches out. Check the spacing before adding smaller details.
For a beginner-friendly version, use one central vine and a few simple flowers. More elaborate arrangements are easier to manage on a larger grid.
How to Make Your Own Pony Bead Tapestry Pattern
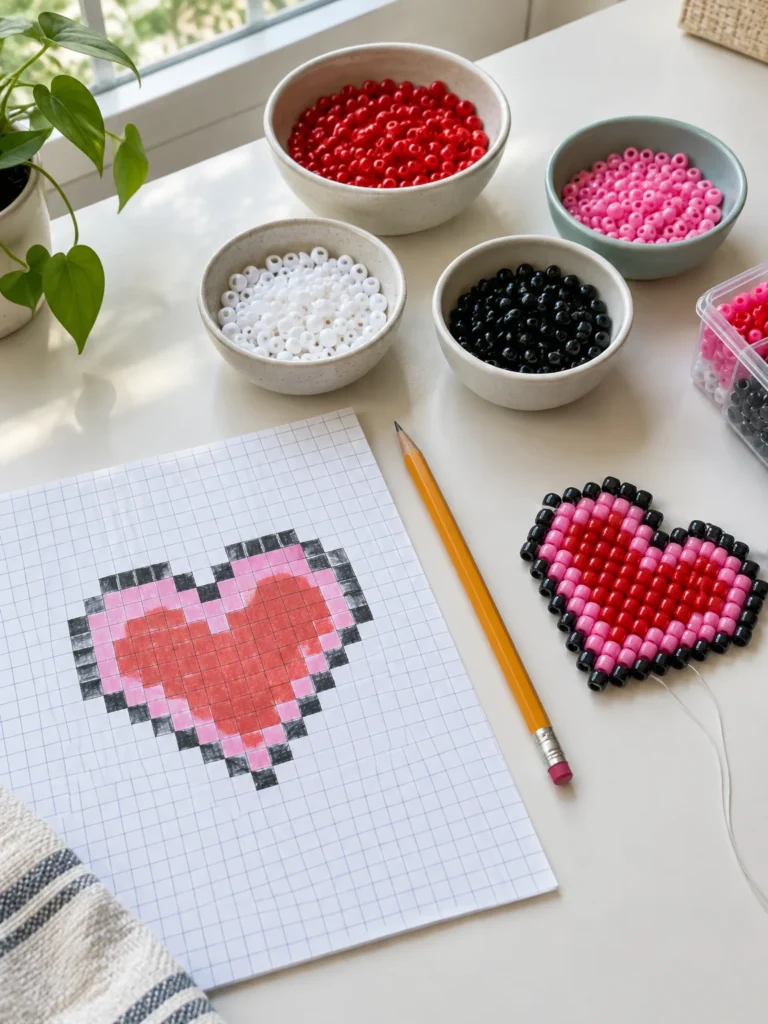
You don’t need a finished template to begin designing. A grid, a limited color palette, and a clear construction plan are enough to start.
1. Choose the construction method
First, decide how the beads will be held together. Some wall hangings use separate vertical strands attached to a dowel, while other beadwork uses an interwoven or stitched structure.
These methods aren’t interchangeable. Your pattern must match the way you intend to build the tapestry.
2. Draw the design on a grid
Use graph paper or a digital bead-pattern editor. Treat each cell as one planned bead position, and begin with a recognizable silhouette rather than small decorative details.
A grid makes it easier to count bead positions and identify where colors change.
3. Create a color key
Assign a color to every symbol or shaded cell in the pattern. Write down the colors you plan to use so you can distinguish similar shades while working.
High contrast is particularly useful for outlines, facial features, and small shapes.
4. Count the beads before starting
For a fully filled grid, multiply the number of columns by the number of rows to estimate the total number of bead positions. For a design with intentionally empty cells, count only the positions that will contain beads.
If you’re using separate hanging strands, count the required beads in each column individually. This helps you prepare the correct number of strands and estimate your supplies.
5. Test the proportions
Pony beads are not perfectly square. Their shape can make a pattern look different when translated from a flat grid to a hanging piece.
Make a small sample with the beads and cord you intend to use. Check the width, height, and spacing before committing to a large design.
For a practical introduction to planning bead patterns, see Bead Bee’s guide to making pony bead patterns.
What Supplies Do You Need?
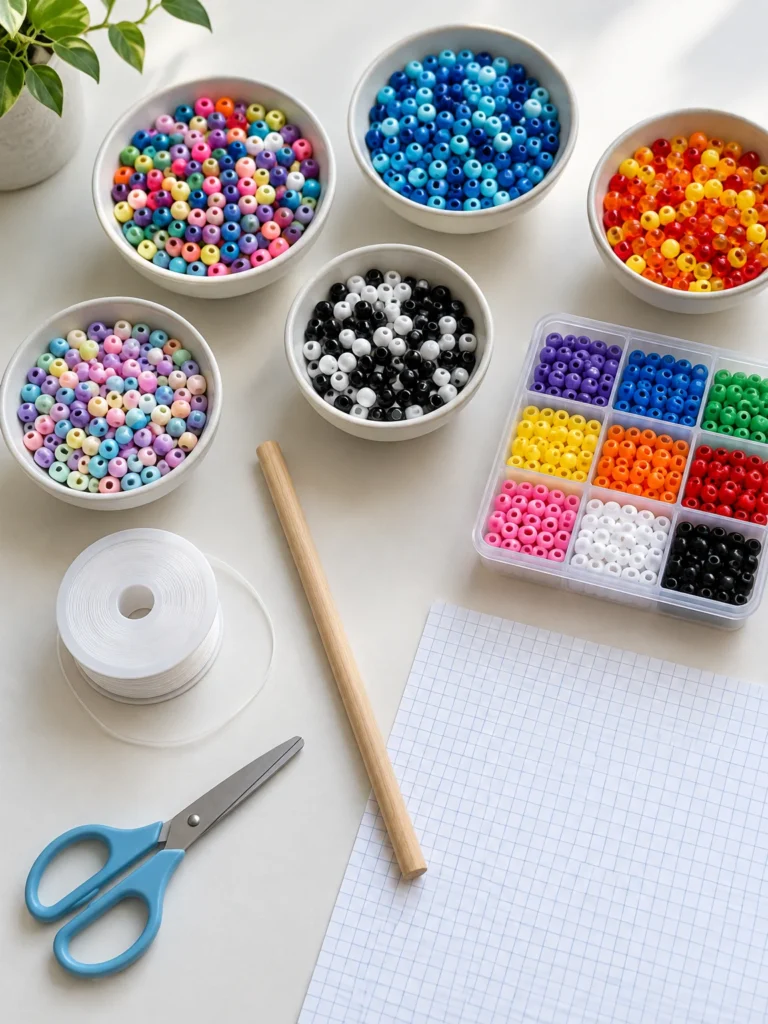
The exact materials depend on your chosen construction method, but a basic planning list includes:
- Pony beads in the colors used by your pattern.
- Graph paper or a digital pattern grid.
- Suitable beading cord or thread.
- A wooden dowel or other appropriate hanging support.
- Scissors and any tools required by your chosen technique.
- Small containers for sorting beads by color.
Check that your cord fits through the bead holes and that the chosen method will support the finished hanging. If the project uses a loom or a particular stitch, follow instructions suited to that technique rather than assuming every tapestry can be assembled the same way.
Keep loose beads away from young children who could swallow them, and supervise age-appropriate craft activities.
How to Choose the Right Pattern
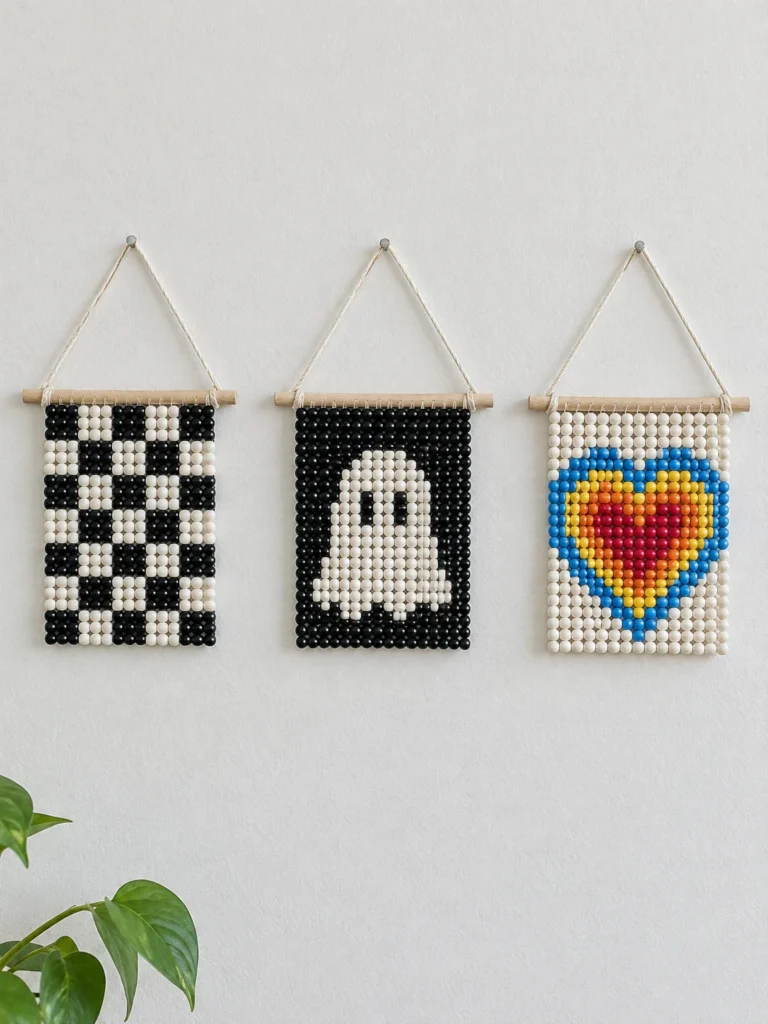
If this is your first project, start with a heart, checkerboard, ghost, or another design with a clear outline and few colors. These shapes are easier to count and check than a detailed animal portrait.
For a decorative wall hanging, choose a motif that suits the available space. A moon or butterfly can work as a centered focal point, while a floral vine can fill a taller, narrower panel.
Before committing to a pattern, check three things: whether the design is clear at your intended size, whether the color changes are easy to follow, and whether you have a suitable way to assemble and hang it.
Frequently Asked Questions
Where can I find free pony bead tapestry patterns?
You can plan original designs using graph paper or a bead-pattern editor. Community pattern websites may also offer existing charts, previews, or downloads, but access and download terms vary. Check each individual pattern before assuming it is free to download or print.
Can I turn a picture into a pony bead pattern?
Yes, a picture can serve as a starting point for a grid-based design. However, you may need to simplify its shapes, reduce the number of colors, and adjust the proportions to suit your bead size and construction method.
Are pony bead tapestry patterns the same as bracelet patterns?
Not necessarily. Bracelet and cuff patterns may use specific stitching techniques, while a wall hanging may use separate strands or another construction method. Choose a chart that matches the technique you plan to use.
What is the easiest pony bead tapestry design for beginners?
A checkerboard, simple heart, or ghost is a sensible starting point because each uses a recognizable shape and a relatively limited palette. A simple design also makes counting and correcting mistakes easier.
Make a Pattern You Can Actually Follow
Pony bead tapestry projects become much easier to plan when you start with a clear silhouette, use a manageable color palette, and check the grid before threading the beads. Choose one design, prepare its color key, and test a small section before making the entire hanging.
The most useful pattern is not necessarily the most elaborate one. It’s the one whose bead positions, colors, and construction method are clear enough for you to recreate the finished design with confidence.