When the weather turns cooler, it can be tempting to spend every evening watching television without really doing anything else. A few simple fall activities at home can add variety to your routine without requiring expensive supplies, elaborate decorations, or an entire free weekend.
These 15 ideas cover creative projects, seasonal food, quiet hobbies, and activities to share with family or friends. Each includes a practical starting point so you can decide what suits your time, budget, and space.
1. Create a Reading Nook You’ll Actually Use
Time: 10–20 minutes to set up
You’ll need: A comfortable seat, a light, a blanket, and a book.
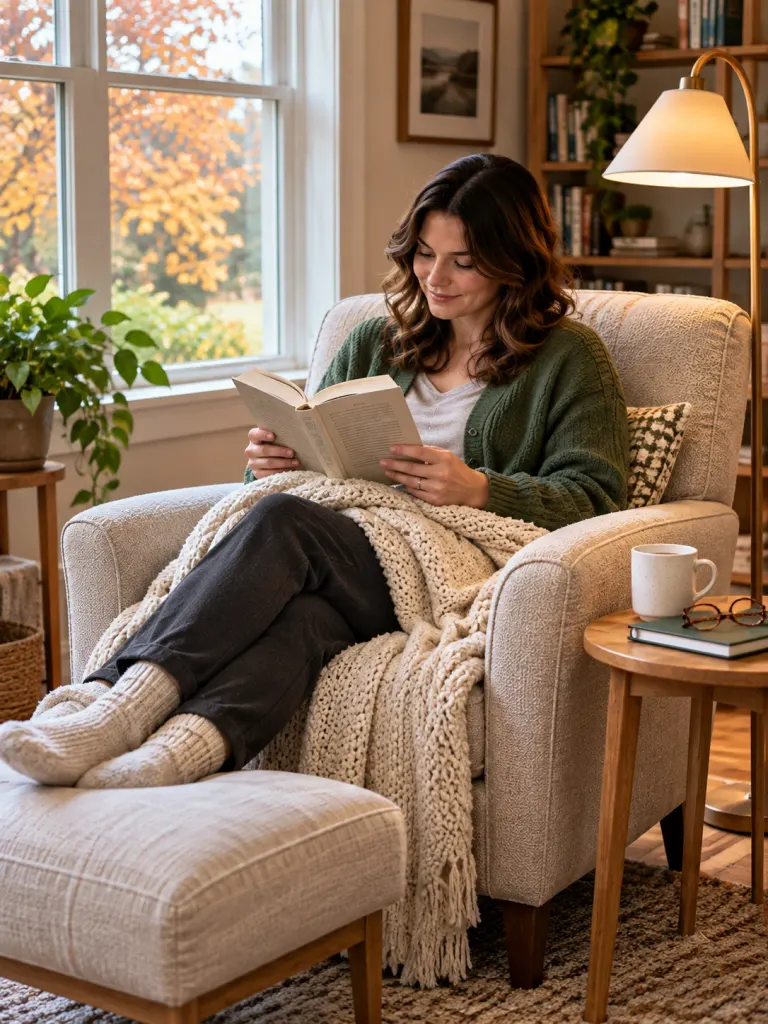
Choose a spot where you can sit comfortably without blocking a walkway or competing with household traffic. A sofa corner or chair beside a window works well. Add a cushion for back support, a reading light, and a small surface for your drink.
Keep your current book and a bookmark within reach. If you regularly abandon books because you don’t have much time, choose a short-story collection or essays rather than committing to a long novel.
One detail that makes a difference is lighting. Position the lamp so the pages are illuminated without shining directly into your eyes. If the only available seat is uncomfortable, fix that before buying decorative cushions.
2. Plan a Fall Movie Night at Home

Time: 15 minutes to prepare
You’ll need: A film, snacks, and somewhere comfortable to sit.
Choose a specific theme, such as nostalgic family films, mysteries, animated adventures, or romantic comedies. Deciding on a category in advance prevents the familiar problem of spending more time browsing than watching.
Make a small snack plate with popcorn, apple slices, and cookies, or prepare hot chocolate before the movie starts. If several people are watching, have each person nominate one film and choose from that shortlist.
For a different experience, watch a double feature over the weekend instead of squeezing two films into one late night. A single movie is usually the more practical choice for a weekday.
3. Bake Apple Crisp or Pumpkin Muffins
Time: About 30–60 minutes, depending on the recipe
You’ll need: Ingredients for one recipe, mixing bowls, measuring tools, and an oven.
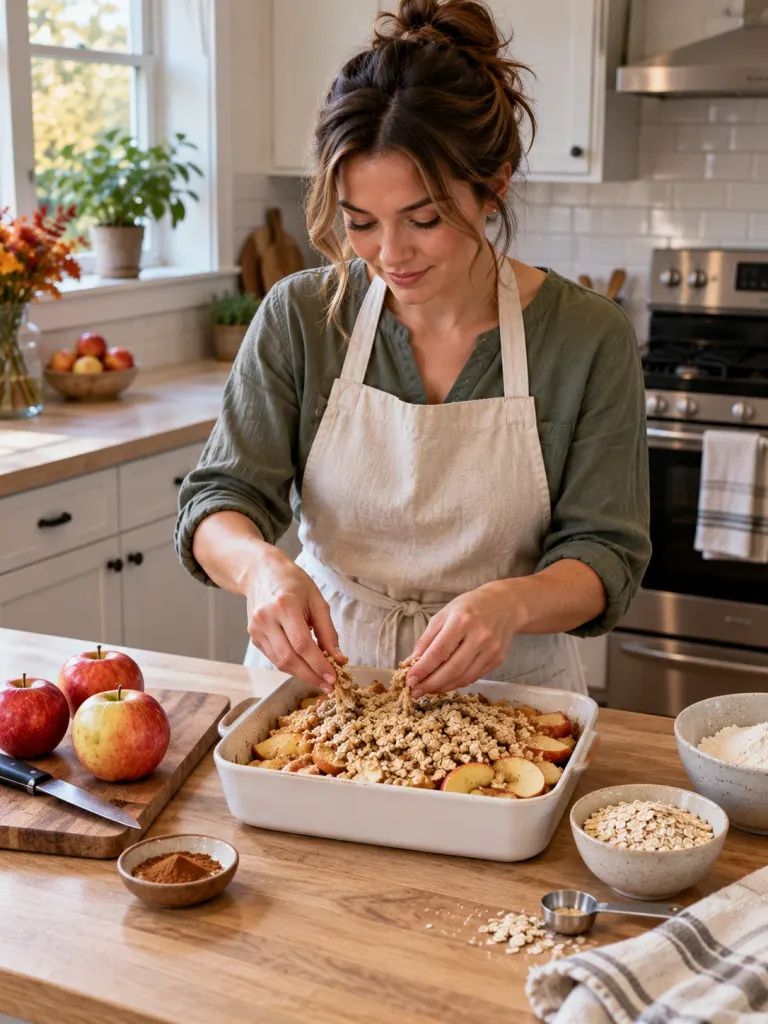
Fall baking is more satisfying when you choose a recipe that fits your available time. Apple crisp is a good option if you prefer preparing a fruit filling and crumble topping rather than shaping individual pastries. Pumpkin muffins work well when you want individual portions for breakfast or snacks.
For apple crisp, core and slice the apples, mix them with the seasonings specified in your recipe, and prepare the topping separately. Spread the apples in a baking dish, add the topping, and bake according to the recipe’s directions.
For muffins, measure the wet and dry ingredients separately before combining them. Avoid overmixing the batter, which can make muffins tougher.
If children are helping, let them measure dry ingredients or stir the mixture while an adult handles knives, hot dishes, and the oven. Check doneness using the recipe’s recommended method rather than relying on color alone.
4. Make a Pot of Soup or Chili
Time: About 30 minutes to several hours, depending on the recipe
You’ll need: A pot, basic ingredients, and a recipe suited to your schedule.
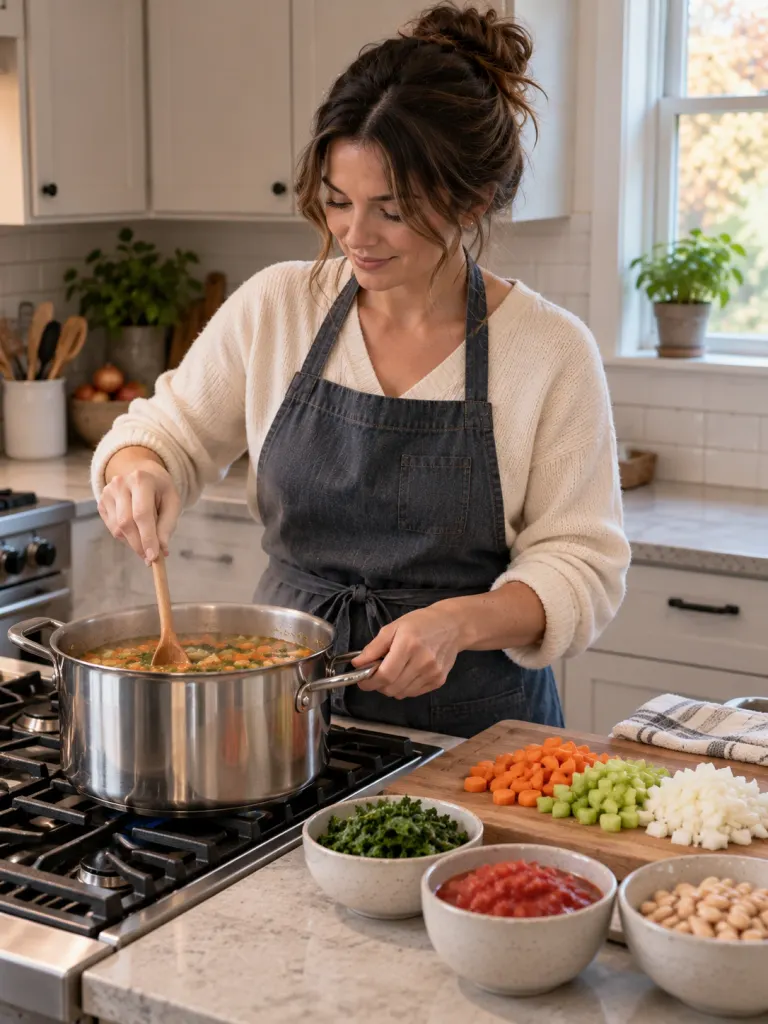
Choose a meal that matches the amount of time you have. A quick tomato or lentil soup may suit a weekday, while a bean chili or vegetable stew can be a weekend project.
A simple starting formula is to build flavor with onion and garlic, add your chosen vegetables or beans, then add broth, tomatoes, and seasonings appropriate to the dish. Follow a reliable recipe for ingredient quantities, cooking times, and any meat that requires thorough cooking.
Set out toppings such as chopped herbs, shredded cheese, crackers, or sliced scallions while the soup simmers. That small task makes the meal feel more like a planned dinner without adding much work.
Food safety: Refrigerate perishable leftovers within two hours. Divide large quantities into shallow containers so they cool more quickly. The USDA provides further guidance in its leftovers and food safety recommendations.
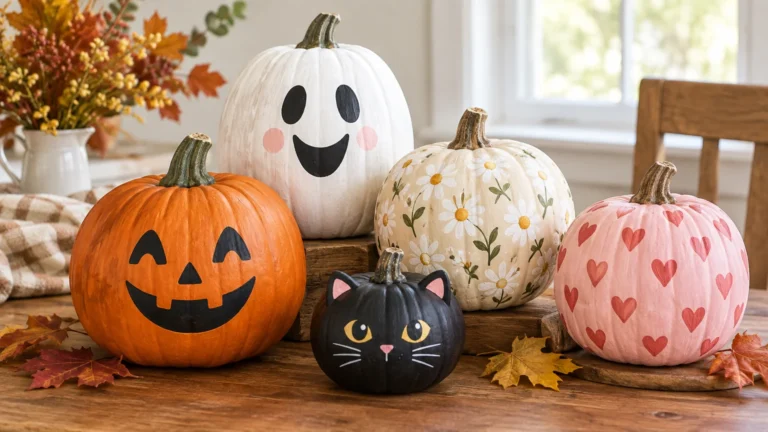
5. Decorate a Pumpkin Without Carving It
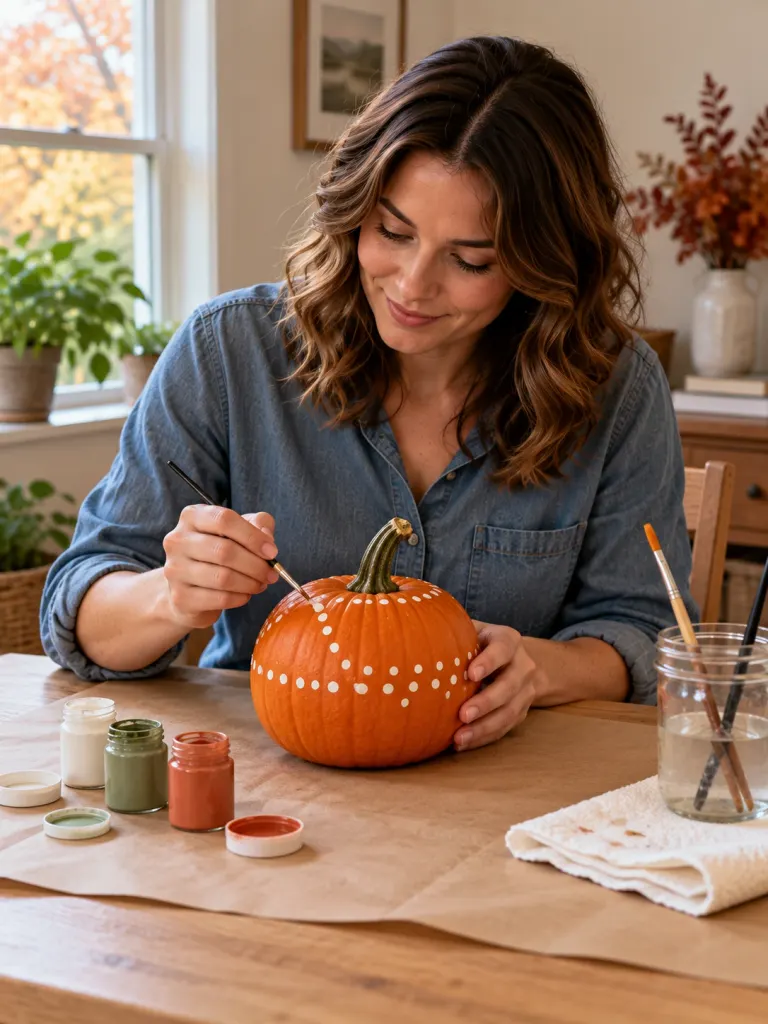
Time: 30–60 minutes, plus drying time if using paint
You’ll need: A clean pumpkin, suitable paint or markers, and a protective covering for your work surface.
Wipe the pumpkin clean and let its surface dry. Cover your table with scrap paper or a washable mat, then sketch your design lightly before applying paint.
Three approaches work well:
- Geometric: Use simple lines, dots, or repeating shapes.
- Minimal: Paint a few broad stripes or one solid section.
- Playful: Draw faces, animals, or funny expressions with suitable markers.
Let the decoration dry completely before moving the pumpkin. Test paint or markers on a small, inconspicuous area first because the finish may vary with the pumpkin’s surface and the material used.
If you want to display the pumpkin for several weeks, inspect it periodically for soft spots or deterioration. A decorated pumpkin is still a perishable natural object, even when it hasn’t been carved.
6. Make Pressed-Leaf Art
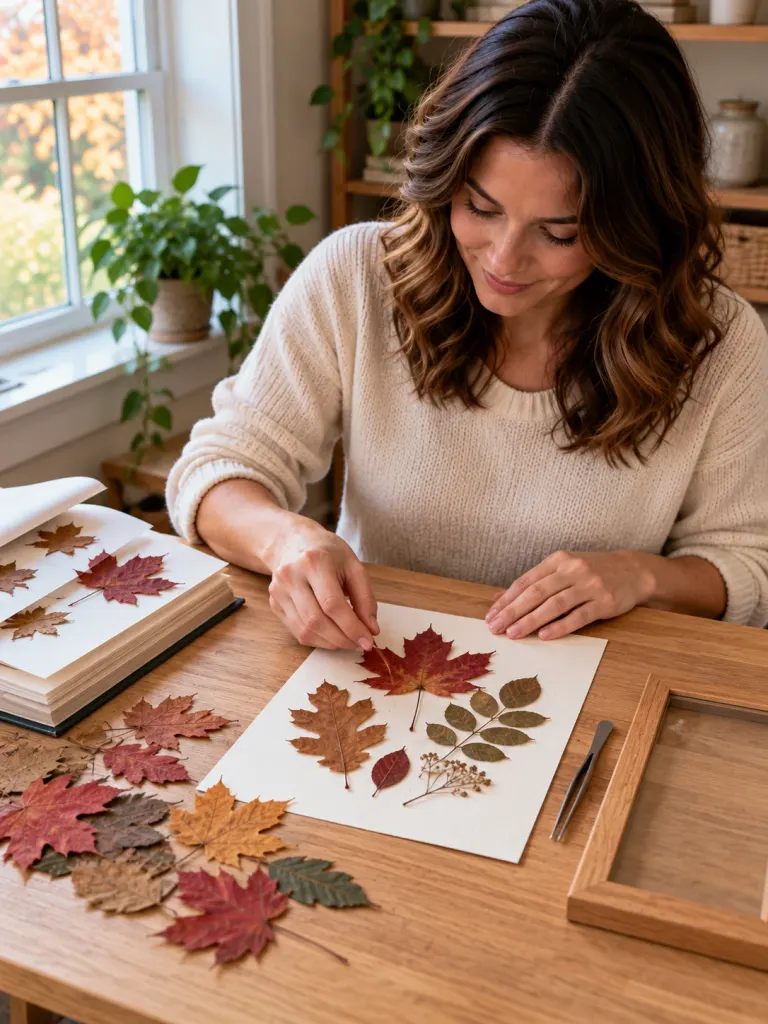
Time: 10–20 minutes to arrange; several days or longer to dry
You’ll need: Dry leaves, paper, a heavy book, and optional frames or card stock.
Collect a small selection of leaves with different shapes and colors. Choose leaves that are reasonably intact and avoid material that is wet, moldy, or visibly damaged.
Place the leaves between sheets of absorbent paper inside a heavy book. Keep the book in a dry place and check periodically until the leaves are dry and flat. The drying time varies with the thickness and moisture content of the leaves.
Once pressed, arrange the leaves on card stock to create a collage, mount a single leaf in a frame, or use them to decorate a handmade greeting card.
Common mistake: Trying to frame leaves before they’re fully dry. Trapped moisture can damage the paper or encourage mold. If a leaf becomes brittle, handle it gently and avoid forcing it into position.
7. Make a Small Fall Wreath or Table Centerpiece
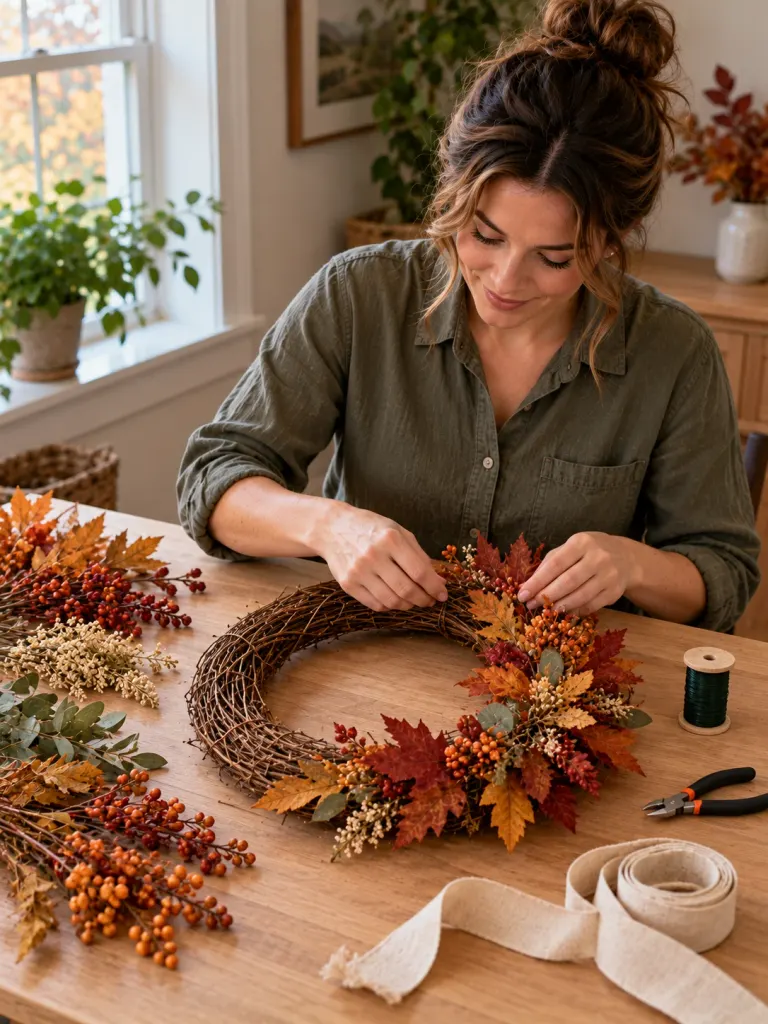
Time: 30–60 minutes
You’ll need: A craft ring or shallow tray, reusable foliage or other decorative materials, and suitable fasteners.
Choose between a wreath and a centerpiece based on where you intend to display the finished project.
For a wreath, attach small bundles of artificial foliage to a basic ring, working in one direction so the pieces overlap. Secure the materials with suitable craft wire or fasteners, and add a ribbon if desired.
For a centerpiece, arrange a few small gourds and artificial leaves in a shallow tray. Keep the arrangement low enough that people can see across the table during a meal.
Use a sturdy hanging method if you plan to put the wreath on a door. Avoid placing loose decorations where they can fall into walkways or obstruct an exit.
Reusable artificial foliage is a practical choice if you want to store the arrangement and bring it out again next year.
8. Host a Board Game or Puzzle Night
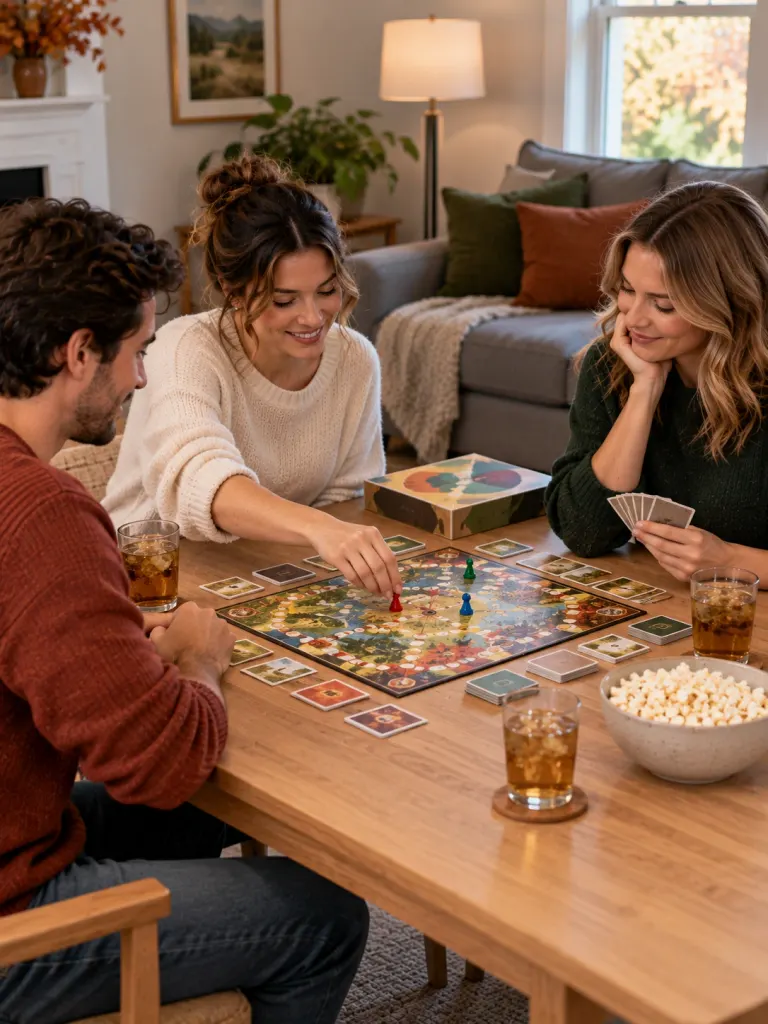
Time: 20 minutes to set up; play time varies
You’ll need: A board game, card game, or jigsaw puzzle, plus a suitable table.
For a group, choose a game whose playing time and rules suit the people attending. A short card game or word game works better for a weeknight than a lengthy strategy game if everyone has limited time.
Read the rules before guests arrive so you can explain the basics without repeatedly stopping to check the instructions. If the game has a long learning curve, play a practice round first.
For a quieter option, choose a jigsaw puzzle and clear enough table space to leave it in place between sessions. Keep the box nearby so you can check the picture and return stray pieces to the right place.
Playing alone? Try a crossword, a logic puzzle, or a puzzle with a manageable piece count rather than beginning with an oversized project that may take weeks to complete.
9. Hold an At-Home Apple Tasting
Time: 15–25 minutes
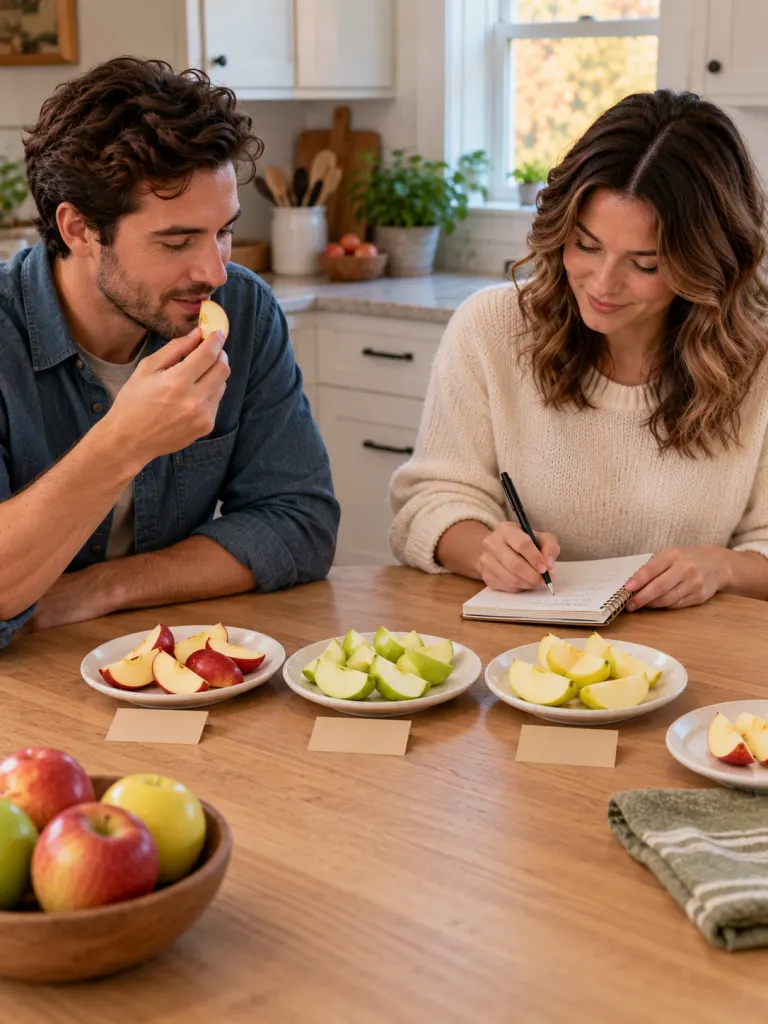
You’ll need: Two to four apple varieties, a knife, a cutting board, and small plates.
Buy a few varieties that are available locally rather than searching for specific apples that may be out of season in your area. Wash the apples before cutting them and remove any damaged areas.
Slice each variety into wedges and label the plates. Compare sweetness, tartness, crunch, juiciness, and texture. Have everyone rank their favorites before revealing which variety they preferred.
To make the activity more useful, compare how each apple might work in the kitchen. A crisp apple that holds its shape may be appealing in a fresh salad, while a variety that softens readily may suit a cooked dessert. Actual results depend on the variety and recipe.
For a smaller budget, use two varieties and compare them side by side. You don’t need a large assortment to notice differences.
10. Set Up a Hot Drink Station
Time: 10–15 minutes
You’ll need: A tray, mugs, tea or coffee supplies, and a few optional toppings.
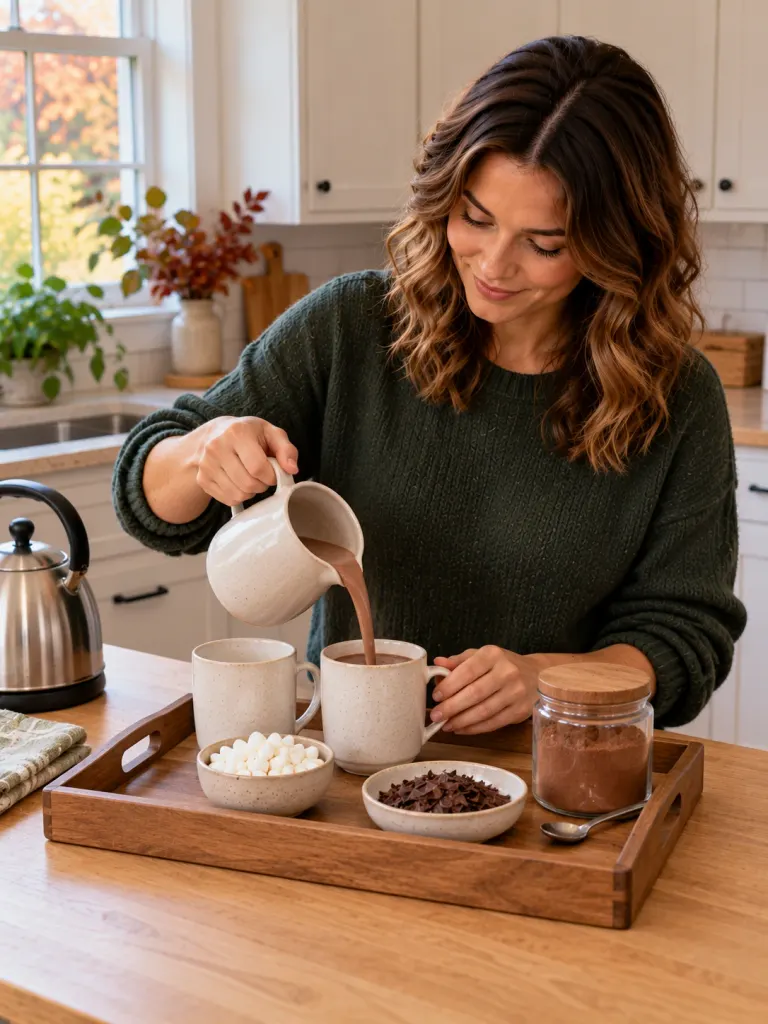
Choose a spot near the kitchen where you can prepare drinks without crowding your usual workspace. Arrange your mugs, tea bags or coffee supplies, cocoa powder, and a few add-ins on a tray.
For hot chocolate, offer marshmallows or chocolate shavings. For tea, provide two or three varieties and let everyone choose their own. If you serve hot apple cider, heat it according to the product instructions and use suitable heat-safe containers.
Keep kettles and hot liquids away from the edge of the counter, particularly if children are helping. Don’t leave hot drinks where someone might knock them over.
The station should be easy to put away after use. If it takes over your main preparation area, reduce the number of items rather than spreading everything across the kitchen.
11. Have an Indoor Fall Picnic
Time: 20–30 minutes to prepare
You’ll need: A blanket or rug, a tray or basket, and food that’s easy to serve.
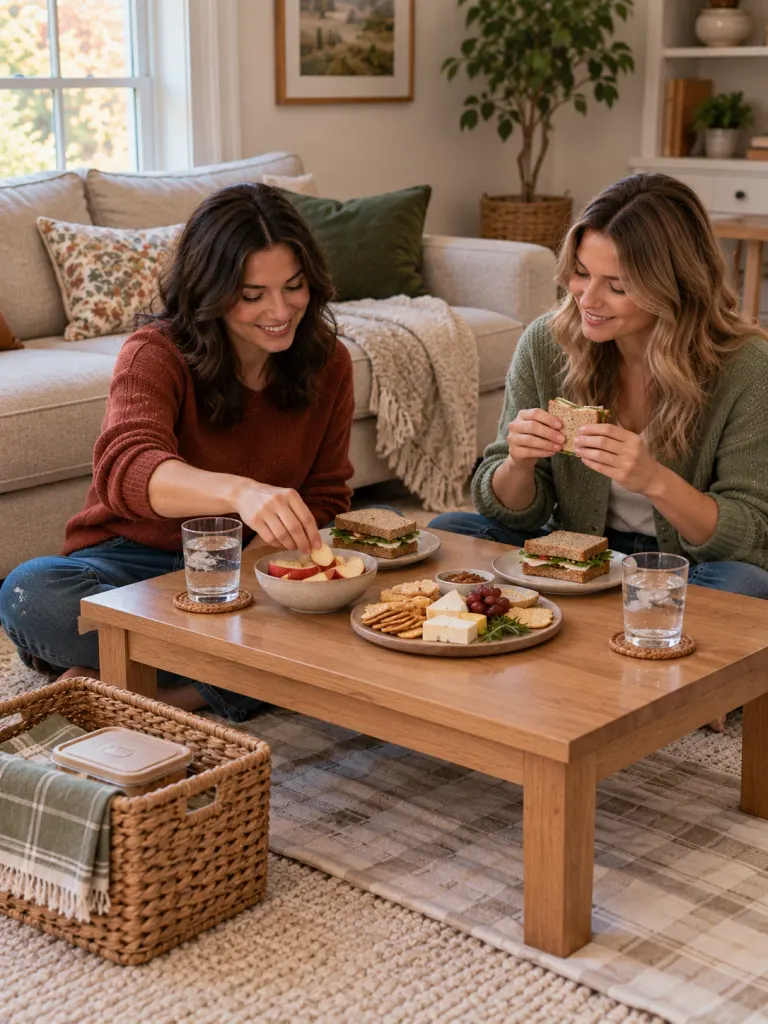
Choose a clean, flat spot away from doorways and high-traffic areas. Spread out a blanket, use a low table or sturdy tray for food, and arrange cushions where people can sit comfortably.
Sandwiches, crackers, cheese, sliced fruit, and vegetable sticks are easy options. Prepare the food on plates or in containers before moving it to the picnic area so you’re not carrying several loose items at once.
If you’re eating on the floor, use a firm cushion or a regular chair if sitting low is uncomfortable. An indoor picnic should not require an awkward position or an expensive picnic set.
Return perishable food to the refrigerator promptly. Indoor temperatures still allow perishable foods to become unsafe if left out too long.
12. Try a Beginner-Friendly Craft or Handwork Project
Time: 20–45 minutes for a first session
You’ll need: Materials for one small project, such as yarn, fabric, paper, or drawing supplies.
Choose a project that teaches one basic skill instead of starting with a large finished object.
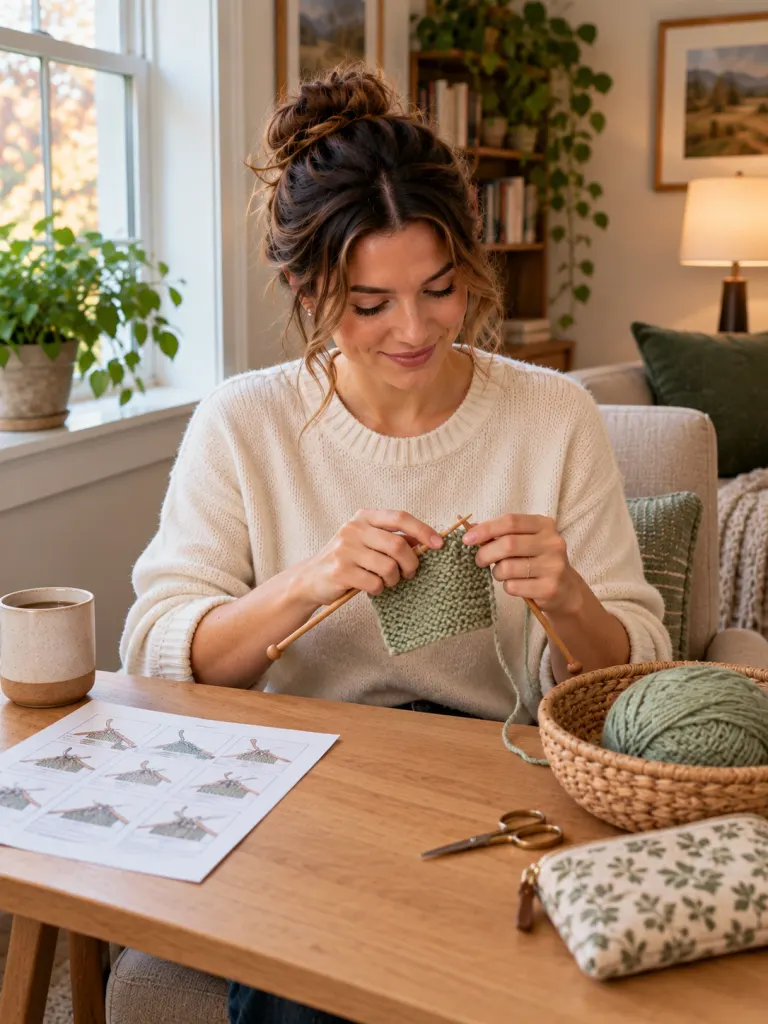
- Knitting or crochet: Practice the basic stitch on a small sample before attempting a scarf.
- Embroidery: Start with a simple outline or a few basic stitches on scrap fabric.
- Sketching: Draw a mug, apple, leaf, or another object you can observe directly.
- Paper craft: Make a card or folded decoration using paper and scissors.
Find a beginner guide that shows the specific technique you want to learn. Lay out the materials before starting and keep the instructions open where you can refer to them.
Store unfinished work in a small bag or box with its instructions and tools. This prevents you from having to reconstruct the setup every time you return to the project.
13. Organize a Seasonal Potluck or Soup Swap
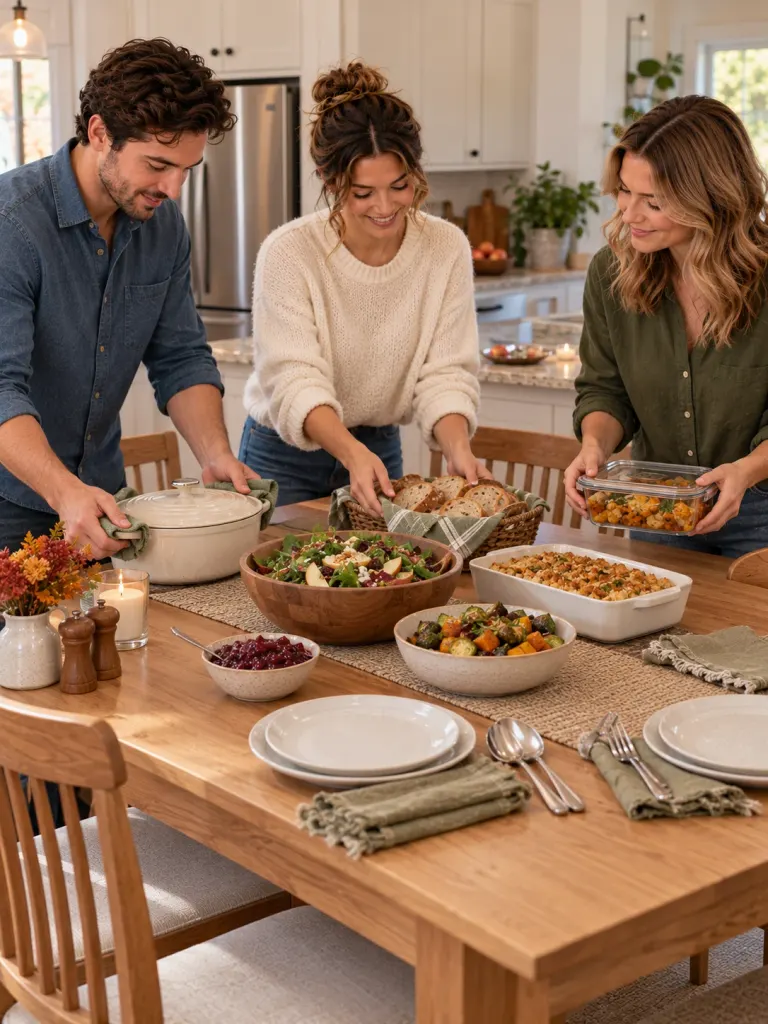
Time: A few days of planning, plus the gathering
You’ll need: A guest list, an agreed food plan, serving dishes, and space for storage.
A potluck is easier to manage when each guest knows what to bring. Ask people to choose different categories, such as bread, salad, soup, or dessert, rather than leaving everyone to decide independently.
For a soup swap, agree on portion sizes and how the food will be transported and stored. Guests should label containers with the dish name and relevant ingredients, including common allergens where known.
If your kitchen or refrigerator has limited space, choose a smaller group and avoid planning more dishes than you can safely store. Guests can also bring commercially prepared food if cooking from scratch isn’t convenient.
Keep hot food hot and cold food cold, and refrigerate perishable dishes promptly. The USDA’s steps to keep food safe are a useful reference when planning the menu.
14. Create a Seasonal Photo Album
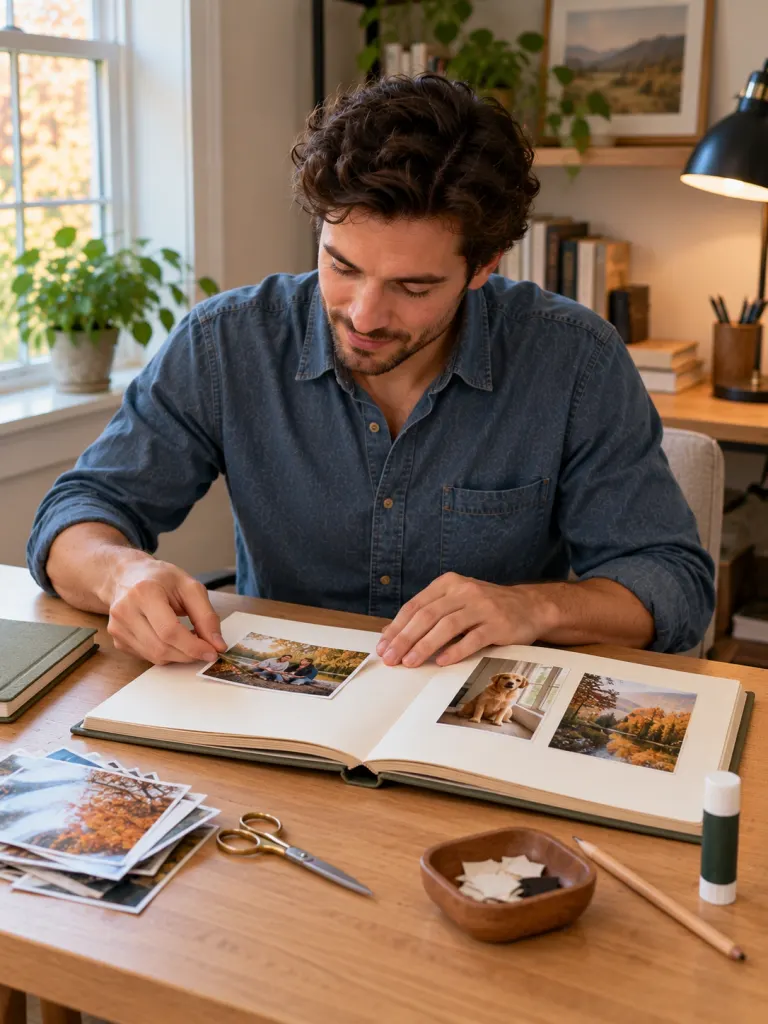
Time: 30–60 minutes for a small collection
You’ll need: Photos from your phone or existing albums, plus an optional notebook or scrapbook.
Start with 10–20 photographs instead of trying to organize your entire photo library. Choose a theme, such as family gatherings, favorite meals, pets, autumn walks, or ordinary moments at home.
Arrange the images in chronological order or group them by subject. Add short captions with dates, names, or details that might otherwise be forgotten.
A digital album is the simplest option if you want to avoid buying supplies. If you prefer a physical scrapbook, use paper and materials you already own and print only the photographs you intend to include.
Before sharing a digital album, check its privacy settings, especially if it includes photographs of children or other people who may not want their images shared widely.
15. Start a Fall Gratitude or Activity Jar
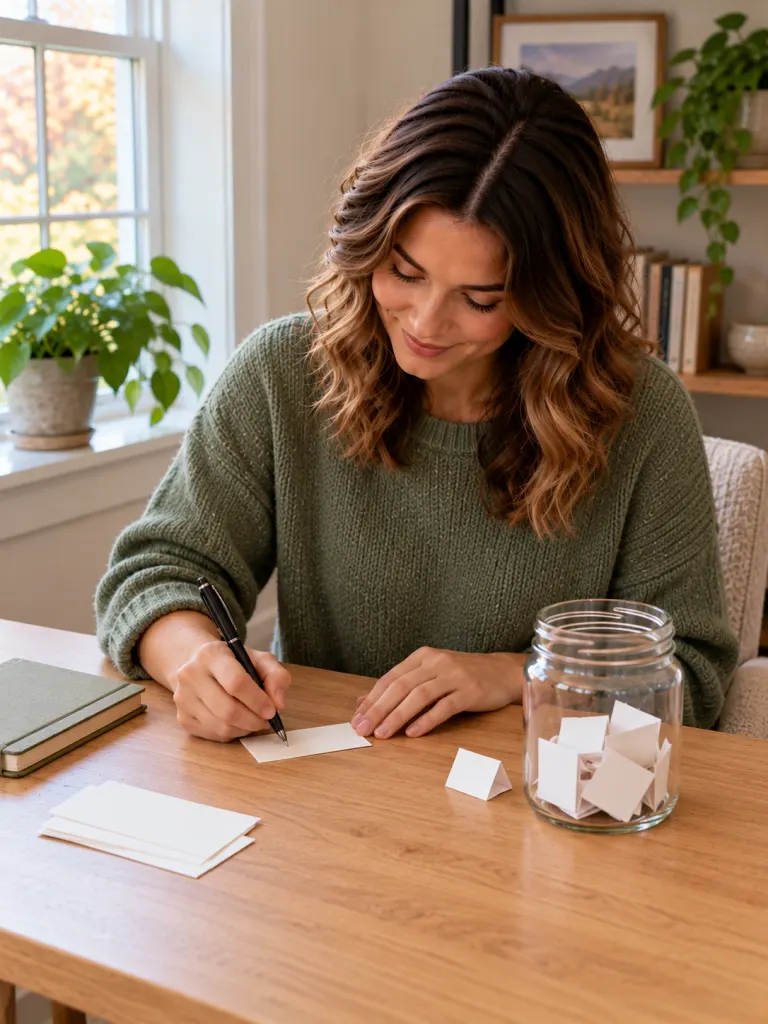
Time: 10 minutes to set up, then a few minutes whenever you use it
You’ll need: An empty jar or box, small slips of paper, and a pen.
Decide what the jar is for before you begin. A gratitude jar collects small moments you want to remember; an activity jar collects things you would like to do during the season. Keeping the two purposes separate makes the notes easier to use.
For a gratitude jar, write one specific event or detail on each slip, such as a meal you enjoyed or a conversation that made you laugh. Add the date if you want to remember when it happened.
For an activity jar, write one idea per slip: bake apple crisp, finish a puzzle, make a wreath, or host a movie night. When you have free time, draw one note and check whether you have the materials needed.
Keep the jar somewhere visible but out of the way. If several people contribute, use separate slips rather than trying to fit several ideas onto one piece of paper.
How to Choose the Right Fall Activities for Your Home
The most useful choice depends on how much time you have, whether you want company, and whether you prefer making something or simply relaxing.
| Your situation | Activities to try | What to prepare |
|---|---|---|
| You have 15–30 minutes | Apple tasting, hot drink station, activity jar | A few ingredients or household supplies |
| You want a quiet evening | Reading nook, handwork, puzzle | A comfortable spot and one activity |
| You’re spending time with family | Board games, pumpkin decorating, indoor picnic | A shared table or comfortable floor space |
| You want a creative project | Pressed-leaf art, wreath, photo album | Materials for one specific project |
| You’re planning a gathering | Movie night, potluck, soup swap | A clear plan for food, guests, or entertainment |
| You want to cook | Apple crisp, pumpkin muffins, soup, or chili | A recipe and ingredients you already have |
For craft projects, protect your work surface and check the instructions for any materials that need special handling. For food activities, use reliable recipes and follow food-storage guidance. These are practical preparation steps, not reasons to make the activities complicated.
What to Do This Weekend
Pick one activity based on the time you actually have. If you have half an hour, try an apple tasting or set up a hot drink station. If you have a free afternoon, bake something, decorate a pumpkin, or begin a photo album.
Before you start, check what you already own and make a short list of anything essential that’s missing. That simple step keeps a seasonal activity from turning into an unnecessary shopping trip.