Bedazzled pumpkins turn ordinary fall decorations into eye-catching pieces with rhinestones, faux pearls, glitter, and colorful gems. The difference between a polished design and a cluttered one usually comes down to restraint: a few well-placed stones can look more deliberate than a pumpkin covered edge to edge.
These 14 ideas include metallic finishes, playful color schemes, and Halloween-inspired patterns. Some take an afternoon, while others need more careful layout. Most can be adapted to a real or faux pumpkin, as long as the materials suit the surface. The shared how-to steps are near the end, so each idea below focuses on what makes it different.
1. Classic Rhinestone Pumpkin
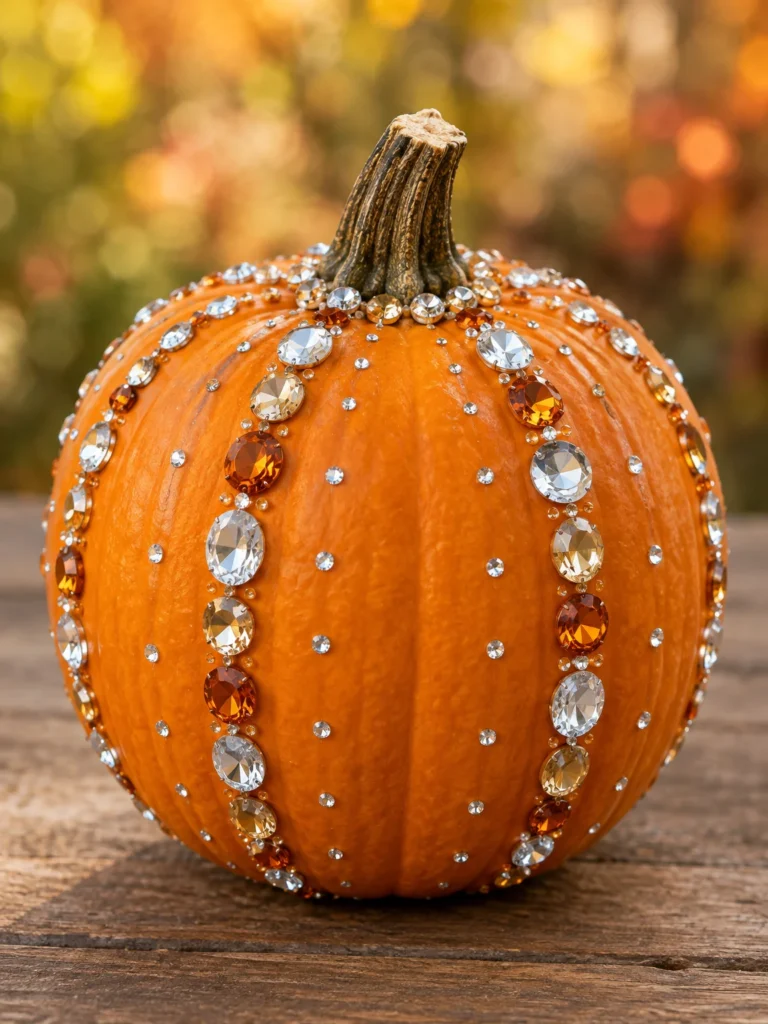
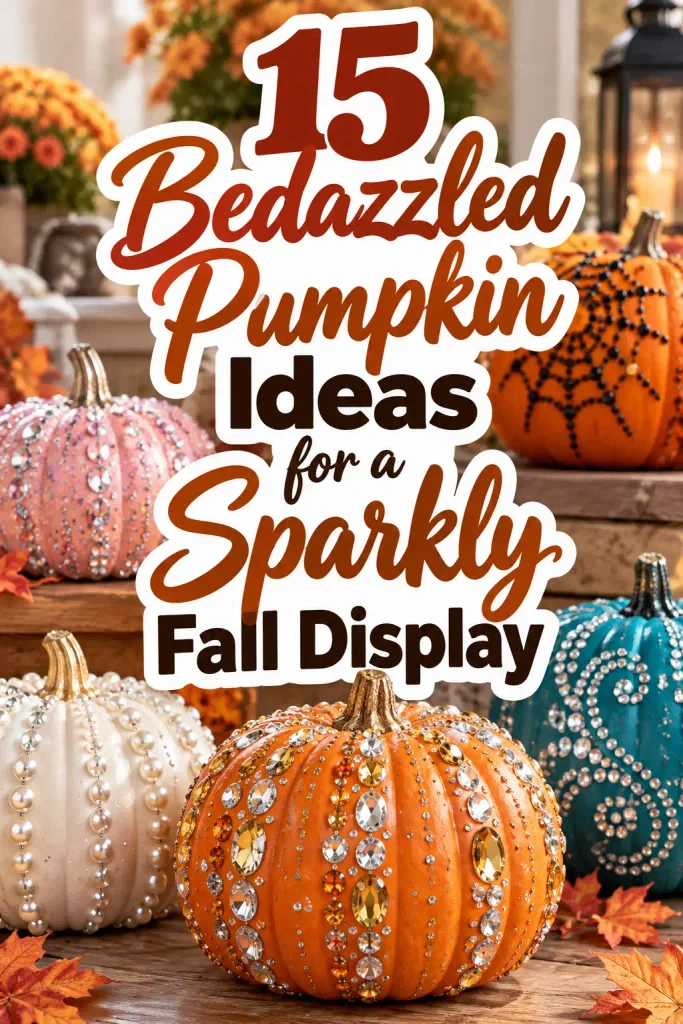
A traditional orange pumpkin with scattered rhinestones is the easiest way to try the trend. Mix clear crystals with a few amber or champagne-colored gems that complement the pumpkin’s natural color.
Place a small ring of stones around the stem first, add several larger gems across the main ridges, then fill selected gaps with smaller ones. Use at least three stone sizes, since variety in scale is what makes a scattered design look intentional.
Seat stones on the smoother faces of the ridges rather than deep in the creases, where they tend to sit at an angle.
2. Orange Pumpkin With a Black Rhinestone Spiderweb
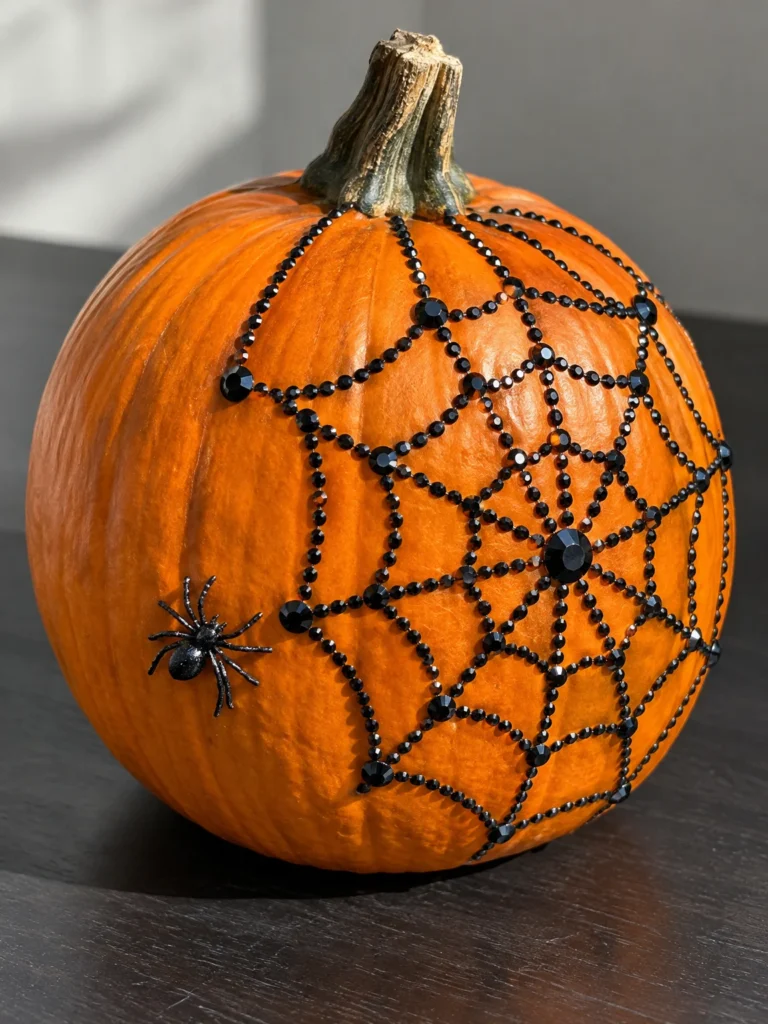
Black rhinestones contrast sharply with orange, which is why this is one of the most recognizable Halloween designs.
- Lightly sketch six to eight lines radiating from the stem.
- Connect them with curved cross-lines to form the web.
- Fill the radiating lines first with small black gems.
- Add the curved lines, placing a slightly larger stone at each intersection.
Rotate the pumpkin so the web faces front, and keep it on one side so some orange remains part of the look. A black spider ornament beside it finishes the display.
3. White Pumpkin With Black Jeweled Swirls
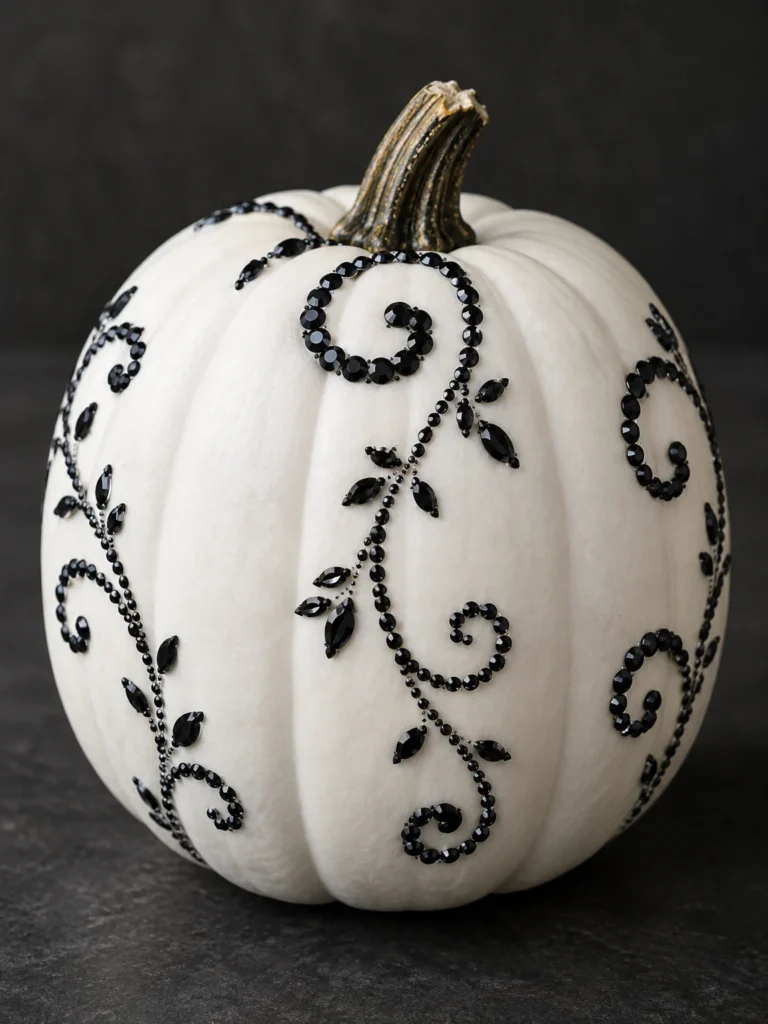
On a white pumpkin, black rhinestones can form curling vines, paisley shapes, or ornamental scrolls. Start with one large curl near the stem, then extend smaller curves down the sides, varying their size so the pattern doesn’t look stamped.
The same layout works in reverse on a black pumpkin with clear or silver stones.
Keep your guide lines light. Pencil or marker can be hard to remove from painted surfaces, so test it on a hidden spot before sketching the whole design.
4. Pearl-Studded Pumpkin
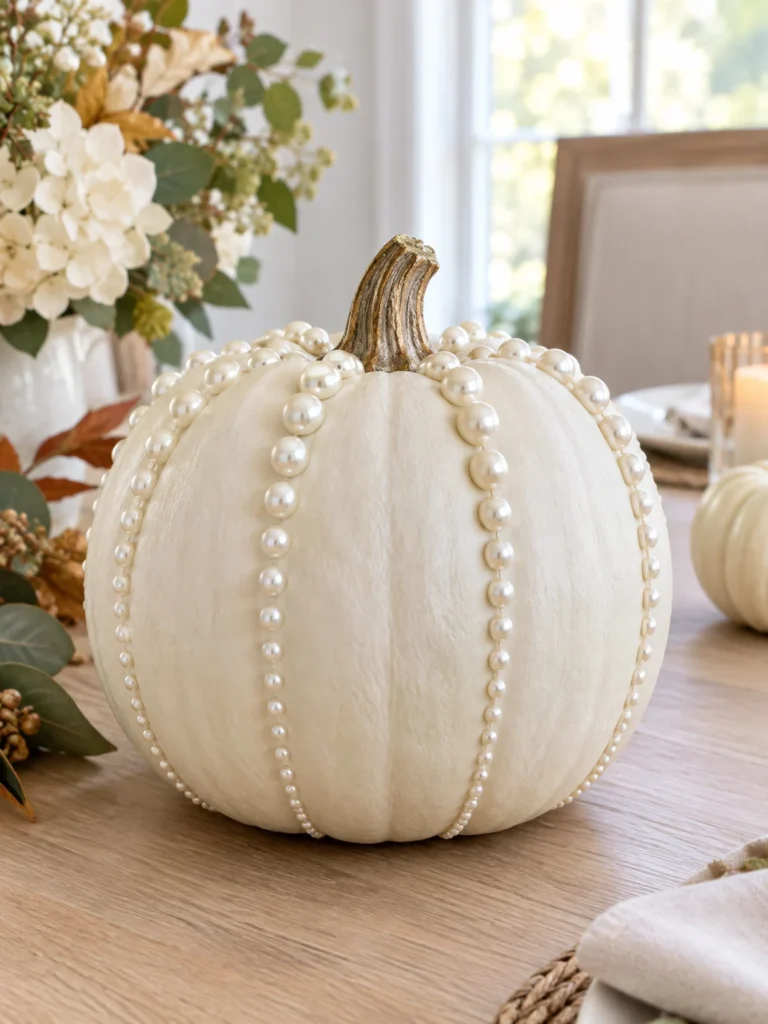
Faux pearls give a pumpkin a softer finish than faceted rhinestones. On an ivory or white pumpkin, run cream-colored pearls along the natural ridges. For a simple version, decorate every other ridge. For a fuller look, use larger pearls near the stem and smaller ones toward the base, so the change in size adds movement without a complicated motif.
Choose flat-back pearls or half-pearls when you can. Round beads touch the surface at a single point, which makes them harder to secure on a curved pumpkin.
5. Teal Pumpkin With Silver Crystals

Teal and silver are a cooler alternative to orange and black. Start with a teal pumpkin and use silver rhinestones for sweeping curves or a border along the ridges. One effective layout is a jeweled curve that starts near the stem and travels down one side, with the opposite side left plain.
A faux pumpkin is the practical choice here because you can pick a consistent teal finish and reuse the piece. For a variation, swap the teal for deep purple and keep the silver.
6. Pink Glitter Pumpkin With Crystal Accents
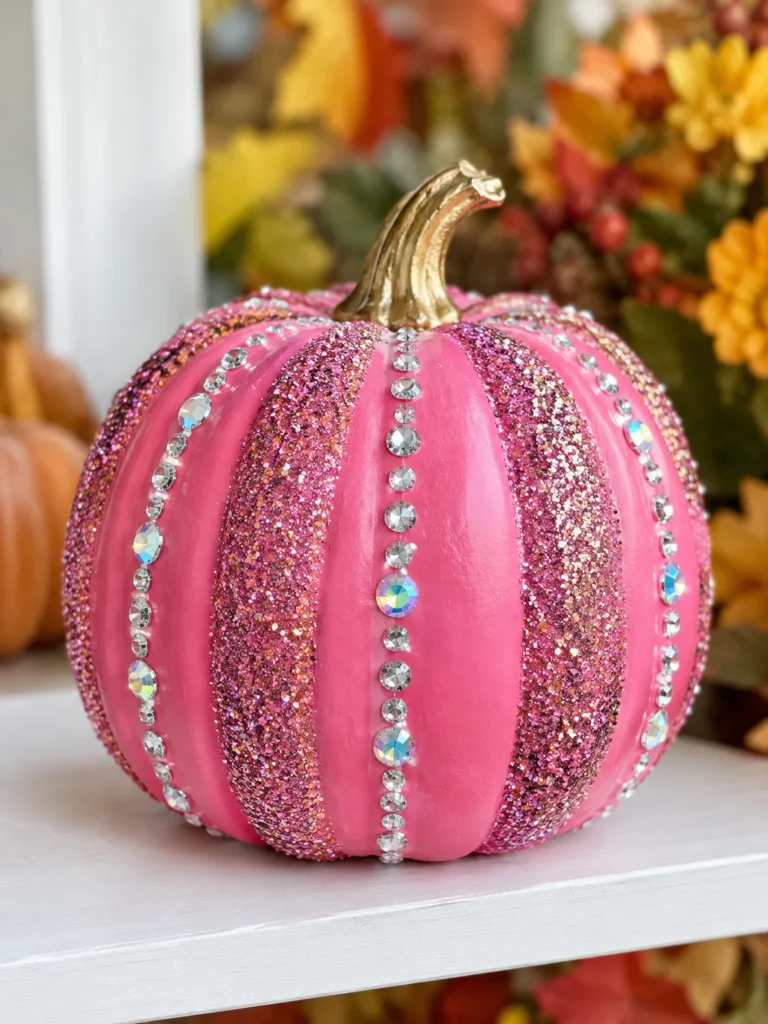
A pink pumpkin with glitter and clear rhinestones suits fall shelves, party tables, and lighter Halloween displays. Use a pink-painted faux pumpkin, or paint a plain one and let it dry completely. Add glitter to selected areas, then place larger crystals between the glittered sections for contrast in texture.
If you want less mess, use glitter-finish paint and skip loose glitter altogether. If you do use loose glitter, work over a sheet of paper so the excess can be funneled back into the container.
7. Jeweled Spider Pumpkin
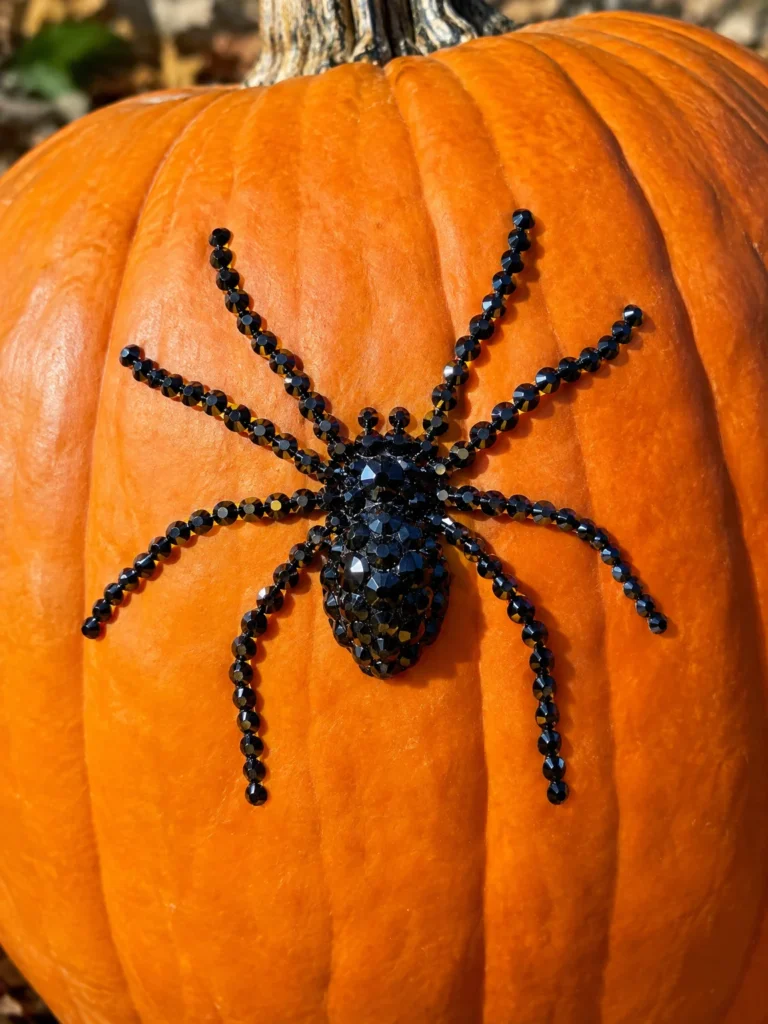
Instead of a web, let the spider be the focal point. A black or orange pumpkin gives a good background for one large spider made from dark rhinestones. Form the body from one oval gem or a tight cluster of smaller stones, then add eight narrow lines of black gems angled outward for the legs.
For a more dramatic version, use red stones for the body. Keep all the leg stones the same size, because uneven stones make thin lines look wobbly and hide the spider’s shape.
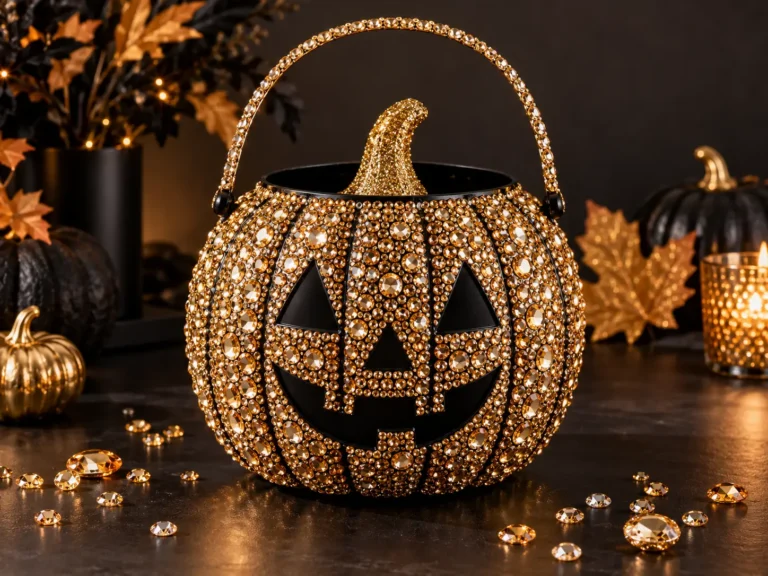
8. Gold and Crystal Pumpkin

Gold-tone gems paired with clear crystals feel warmer and richer than an all-silver design. The combination works on cream, black, deep green, or orange pumpkins. Place gold gems in a few deliberate clusters, then surround them with clear crystals to catch the light. You can also follow two or three natural ridges with gold-tone studs.
Buy all the gold pieces from the same set when possible. Slight differences in shade show up quickly against an orange or cream background.
9. Ombre Rhinestone Pumpkin

An ombre pumpkin moves gradually between colors. One option is deep purple rhinestones near the base, lavender through the middle, and clear crystals near the top. Pink-to-clear and orange-to-gold-to-champagne also work well.
Lay out all the colors on the surface before attaching anything so you can adjust the transition. Overlap neighboring shades slightly to avoid hard horizontal bands, and paint the base in a complementary color so any small gaps between stones blend in.
10. Black Pumpkin With Silver Constellations
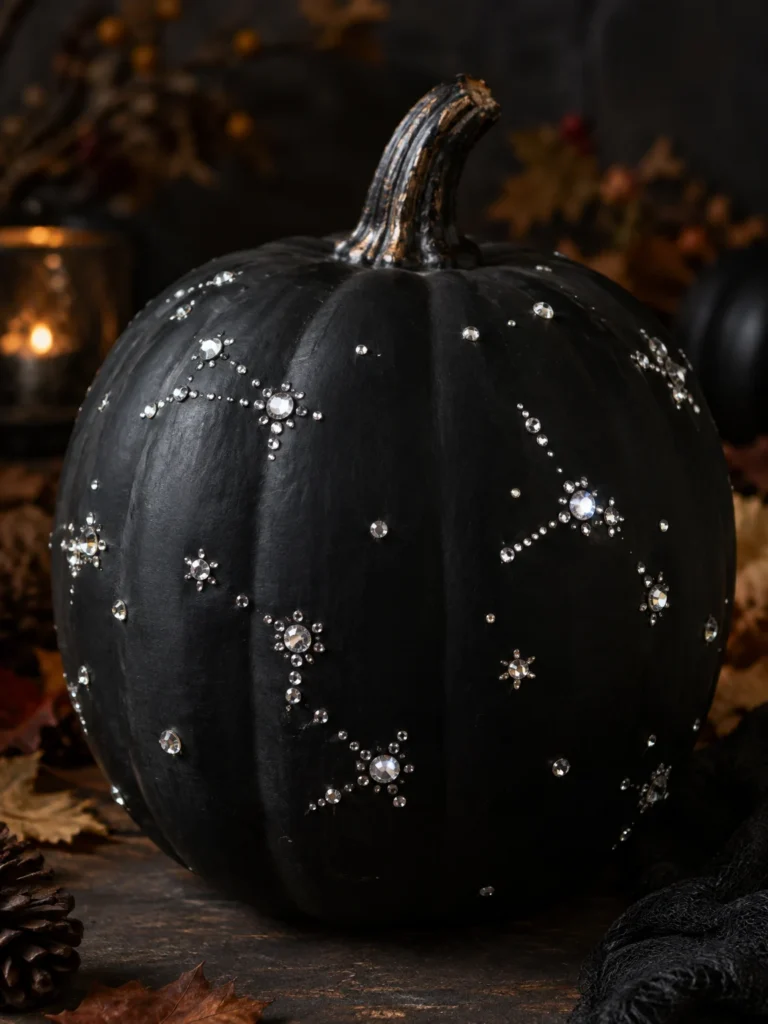
A black pumpkin is a natural backdrop for stars. Instead of covering the surface, arrange small groups of silver and clear stones as constellations. Place larger gems at the main points, then connect some of them with thin lines of smaller stones.
For a recognizable result, copy a real constellation such as the Big Dipper or Orion rather than inventing shapes. It makes a quieter option for anyone who prefers subtle patterns to spiders.
11. Personalized Pumpkin With Jeweled Initials

A single jeweled letter makes a pumpkin feel custom without an all-over design. Choose a smooth white, black, or orange pumpkin and outline one large initial with small rhinestones. Fill the center with a contrasting color for a bolder look, or leave it hollow for a lighter one.
A curved surface distorts lettering, so pick a bold, simple typeface. Print the letter, hold it against the pumpkin to check the size, and trace it lightly. Making several pumpkins for a table? Keep the base color and gem style the same.
12. Colorful Jeweled Sugar Skull Pumpkin
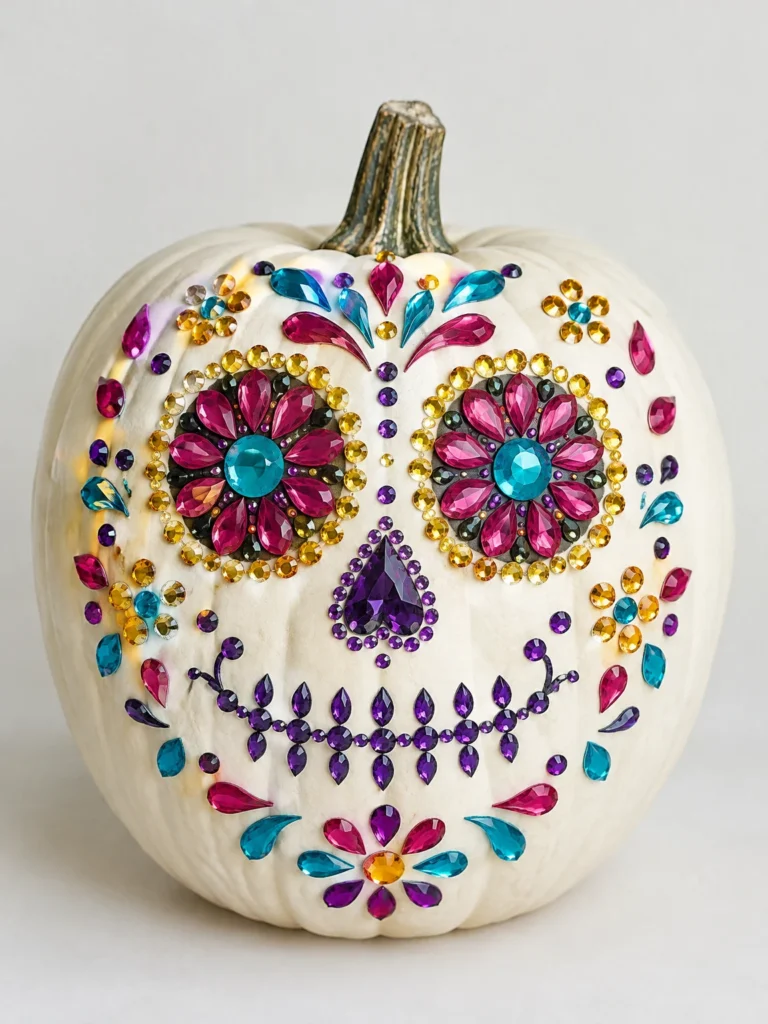
This is the most detailed project in the list, and the main risk is features drifting out of place. Start with a white pumpkin and plan before gluing anything:
- Sketch two large eye shapes, a small nose, and a mouth.
- Outline the eyes with colored rhinestones.
- Add floral patterns around the eyes and small gems along the cheeks.
- Step back and check the face from the front before adding fine details.
Limit the palette to three or four colors. The design should feel balanced without making both sides identical.
13. Candy Corn Rhinestone Pumpkin
Candy corn colors give you a Halloween theme without a character or illustration. The easiest approach is to start with an orange pumpkin, so the natural color becomes the middle band. Then place yellow stones around the lower section and white or clear stones near the top.
If you want crisp color blocks, paint the three sections first and match the stones to each band. This works especially well on mini pumpkins displayed in a group, where each one can vary slightly without breaking the set.
14. Vintage-Inspired Jeweled Pumpkin
A vintage look relies on muted color and ornamental placement instead of bright, all-over sparkle. Choose a cream, dusty blue, sage green, or muted orange base. Arrange amber crystals, faux pearls, and bronze-tone pieces into small floral clusters or curling motifs. Symmetry helps the pattern look intentional.
Stick to warm metallics and a few clear crystals. Too many unrelated gem colors push the design away from aged jewelry and toward a craft-store sampler.
Quick Comparison of All 14 Ideas
Effort levels are general estimates based on the amount of layout and detail involved, not timed project tests.
| # | Idea | Effort | Best setting |
|---|---|---|---|
| 1 | Classic rhinestone | Low | Everyday fall decor |
| 2 | Black spiderweb | Moderate | Halloween porch or table |
| 3 | Black jeweled swirls | Moderate | Monochrome centerpiece |
| 4 | Pearl-studded | Low to moderate | Dining table or mantel |
| 5 | Teal and silver | Low | Non-traditional fall decor |
| 6 | Pink glitter | Low | Party table or shelf |
| 7 | Jeweled spider | Moderate | Halloween accent |
| 8 | Gold and crystal | Low | Warm-toned centerpiece |
| 9 | Ombre | Moderate | Color-focused display |
| 10 | Constellations | Moderate | Moody Halloween setup |
| 11 | Jeweled initials | Low to moderate | Personalized table or gift |
| 12 | Sugar skull | High | Detailed statement piece |
| 13 | Candy corn | Low to moderate | Groups of mini pumpkins |
| 14 | Vintage-inspired | Moderate | Traditional fall styling |
How to Make a Bedazzled Pumpkin
The same process works for most of the designs above. The differences come down to pattern, stone count, and materials.
Materials to gather
- A real or faux pumpkin
- Flat-back rhinestones, faux pearls, or other suitable embellishments
- Craft adhesive compatible with the pumpkin’s surface and your embellishments
- A pencil or washable marker for guide lines
- Tweezers for placing small gems
- Acrylic craft paint and a brush, if changing the base color
Step by step
- Choose the pumpkin. Pick a stable shape with enough smooth surface for your pattern. A faux pumpkin is the better option if you want to store and reuse it.
- Prepare the surface. Wipe it clean and let it dry completely. A real pumpkin can be dusty or slightly waxy, and moisture on the surface can keep stones from bonding. If you paint, let the paint dry fully first.
- Plan the placement. Sketch large shapes or guide lines, then arrange loose gems on the surface to check color and spacing. Leave some of the pumpkin’s base color visible. A design with breathing room usually looks more intentional than one that covers every inch.
- Attach the embellishments. Follow the adhesive manufacturer’s directions and work in small sections. On curved surfaces, small amounts of adhesive and flat-back gems are easier to manage than large, rigid pieces.
- Let it set. Allow the adhesive to cure for the time stated on its label before moving the pumpkin or displaying it.
Test the adhesive on a hidden spot first, especially on painted foam or plastic. Not every adhesive works on every surface, and a bond that holds indoors may not survive outdoor moisture or temperature swings.
Real pumpkin or faux pumpkin?
A real pumpkin has a natural seasonal look, but its surface is uneven and it will eventually deteriorate. A faux pumpkin is generally the more practical choice for intricate designs and for reuse next year.
Consider where the pumpkin will sit. For outdoor displays, check the product instructions on your adhesive and embellishments rather than assuming craft glue or rhinestones are weather-resistant.
Safety note: If you want to light a decorated pumpkin, use a battery-operated light and keep decorative materials away from open flames. Oklahoma State University Extension recommends battery-operated flameless lights as an alternative for pumpkin displays. Read its pumpkin decorating safety guidance.
Where to Start
Pick one design and decide whether the pumpkin will sit indoors or outside. That choice determines your pumpkin type and your adhesive, so settle it before buying supplies. Then choose the base color, lay out the gems without gluing, and test the adhesive on the actual surface.
For a first project, scattered rhinestones or a jeweled initial are manageable starting points. When you’re ready for something more elaborate, the spiderweb or sugar skull gives you a clear pattern to follow.